Imagine being able to fix a leaky faucet or unclog a drain without having to call a professional plumber. With a few simple DIY plumbing solutions, homeowners can save time and money by tackling common plumbing issues on their own.
For instance, a clogged garbage disposal can be a real nuisance. However, by following some simple DIY plumbing hacks, such as turning off the power and using a sink plunger, homeowners can resolve the issue quickly. By being equipped with the right knowledge and techniques, individuals can confidently address various plumbing problems, making home maintenance more manageable.
Key Takeaways
- Learn simple DIY techniques to fix common plumbing issues.
- Understand how to clear a clogged garbage disposal.
- Discover methods to improve shower pressure.
- Find out how to detect and fix invisible leaks.
- Explore DIY drain cleaner recipes.
Understanding Common Plumbing Issues
Understanding the most common plumbing issues can help homeowners take proactive steps to prevent damage to their property. Plumbing problems can range from minor annoyances to major emergencies, and being aware of the most frequent issues can guide homeowners in their DIY efforts or in knowing when to call a professional.
Leaky Faucets
A leaky faucet is not just a nuisance; it can also waste a significant amount of water over time. The causes can vary, from worn-out washers to corroded valve seats. According to experts, a single dripping faucet can waste more than 3,000 gallons of water per year. Fixing a leaky faucet not only saves water but also reduces your water bill. For more information on fixing leaky faucets, you can visit common plumbing issues.
Running Toilets
A running toilet is another common issue that can lead to significant water waste. The problem often lies in the flapper or the fill valve. Adjusting or replacing these parts can usually resolve the issue. It’s estimated that a running toilet can waste up to 200 gallons of water per day, making it a problem that should be addressed promptly.
Clogged Drains
Clogged drains are a frequent plumbing issue, often caused by the buildup of hair, soap, and grease. Using a plunger or a drain snake can often clear the blockage. For more stubborn clogs, chemical drain cleaners or natural alternatives like baking soda and vinegar can be effective. Regular maintenance, such as using drain screens, can help prevent clogs. For trusted repairs and expert advice, consider consulting plumbing experts.
Burst Pipes
Burst pipes are a serious plumbing emergency that can cause significant damage to a home. They can occur due to freezing temperatures, corrosion, or high water pressure. Identifying the signs of a potential burst pipe, such as unusual noises or water discoloration, can help in taking preventive measures. In the event of a burst pipe, it’s crucial to shut off the main water supply immediately to minimize damage.
“Plumbing issues, if not addressed, can lead to significant financial losses and inconvenience,” says a plumbing expert. “Being proactive and understanding the common issues can save homeowners a lot of trouble.”
Essential Tools for DIY Plumbing
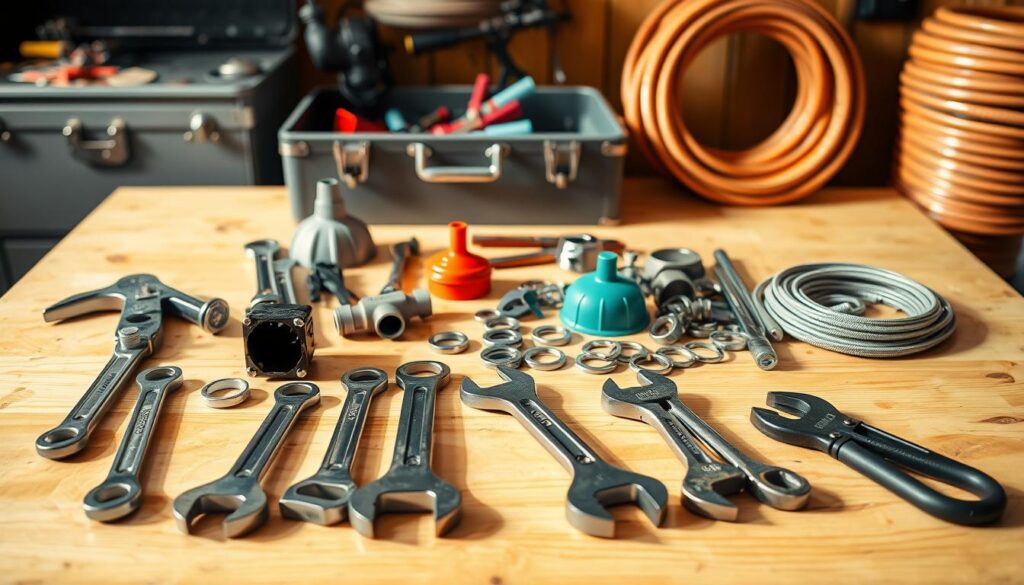
To tackle common plumbing issues effectively, you’ll need a set of essential tools. Having the right equipment on hand can make a significant difference in the success of your DIY plumbing projects.
Pipe Wrenches
A pipe wrench is a fundamental tool for any DIY plumber. It is used to grip and twist pipes, fittings, and other objects. There are two main types of pipe wrenches: the Stillson wrench and the basin wrench. The Stillson wrench is used for gripping and twisting pipes, while the basin wrench is used for reaching and turning the mounting nuts that hold a faucet in place.
Plumber’s Tape
Plumber’s tape, also known as Teflon tape, is used to create a watertight seal on threaded pipe connections. It is a simple, inexpensive tool that can help prevent leaks in your plumbing system. To use plumber’s tape, wrap it around the threads of the pipe in a clockwise direction before making the connection.
Plungers
A plunger is a crucial tool for unclogging drains and toilets. There are different types of plungers available, including the standard plunger and the toilet plunger. The standard plunger is used for sink, tub, and shower drains, while the toilet plunger is designed specifically for unclogging toilets. For more information on essential tools for DIY plumbing, visit Benjamin Franklin Plumbing.
Some key benefits of having these essential tools include:
- Efficient problem-solving: With the right tools, you can quickly identify and fix common plumbing issues.
- Cost savings: By tackling DIY plumbing projects yourself, you can save money on labor costs.
- Increased confidence: Having the right tools and knowledge can give you the confidence to tackle more complex plumbing tasks.
How to Fix a Leaky Faucet
Leaky faucets are a common household issue that can be resolved with some basic plumbing knowledge. A leaky faucet not only wastes water but also increases your utility bills. Fortunately, fixing it is a relatively simple DIY task.
Identifying the Source
The first step in fixing a leaky faucet is to identify the source of the leak. Typically, leaks occur due to worn-out or damaged parts such as washers, O-rings, or gaskets. To identify the source, turn off the water supply to the faucet and disassemble it. Inspect the parts for any signs of wear or damage.
Replacing Washers and O-Rings
Once you’ve identified the damaged part, the next step is to replace it. For most faucets, this involves replacing the washers or O-rings. Turn off the water supply, disassemble the faucet, and remove the old washer or O-ring. Take the old part to a hardware store to find an exact replacement. Reassemble the faucet and turn on the water supply to check for leaks.
Here are some simple plumbing repairs you can follow:
- Turn off the water supply before starting the repair.
- Use the right tools, such as a pipe wrench and plumber’s tape.
- Inspect the faucet parts for any signs of wear or damage.
Ensuring a Tight Seal
After replacing the damaged parts, ensure that all connections are tightened securely to prevent future leaks. Use plumber’s tape on threaded connections to create a watertight seal. Be careful not to overtighten, as this can damage the faucet.
| Part | Common Issues | Repair Tip |
|---|---|---|
| Washers | Wear and tear, mineral buildup | Replace with a new washer of the same size |
| O-Rings | Damage, misalignment | Replace with a new O-ring, apply lubricant |
| Gaskets | Deterioration, improper fit | Replace with a new gasket, ensure proper alignment |
By following these plumbing repair tips, you can fix a leaky faucet and prevent future issues. Regular maintenance and inspections can also help in identifying potential problems early on.
Tackling Running Toilets
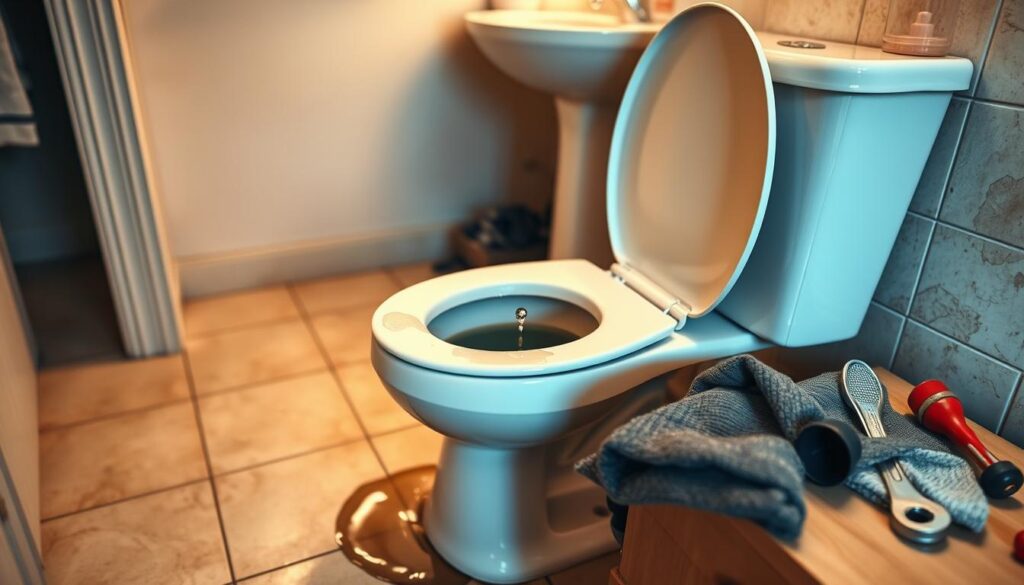
A running toilet can be a significant source of frustration and wasted water. Fortunately, with a few simple DIY plumbing projects, you can resolve the issue efficiently. Dealing with a running toilet requires understanding its causes and applying the appropriate quick plumbing fixes.
Adjusting the Float
The float is a critical component of your toilet’s tank, responsible for regulating the water level. If the float is set too high, water will continuously flow into the overflow tube, causing the toilet to run. To adjust the float, start by turning off the water supply to the toilet. Then, flush the toilet to drain the tank. Most modern toilets have an adjustable float arm or a screw that controls the float level. By adjusting this mechanism, you can lower or raise the float to the correct level, ensuring that the water shuts off once the tank is full.
Flapper Replacement
The flapper is another common culprit behind a running toilet. Over time, the flapper can become worn or damaged, failing to seal properly and allowing water to leak into the bowl. To check if the flapper is the issue, add a few drops of food coloring to the tank and wait a few minutes without flushing. If the color appears in the bowl, the flapper is likely leaking. Replacing the flapper involves detaching the chain and removing the old flapper from its mounting. Install a new flapper, ensuring it’s properly seated and aligned.
Checking the Fill Valve
The fill valve is responsible for refilling the tank after each flush. If it’s faulty, it can cause the toilet to run continuously. To check the fill valve, inspect it for any signs of damage or mineral buildup. Cleaning the fill valve can sometimes resolve the issue, but if it’s damaged, consider replacing it. Modern fill valves are relatively easy to replace, and doing so can be a straightforward DIY plumbing project.
| Issue | Symptoms | Fix |
|---|---|---|
| Float Issue | Water level too high, continuous flow into overflow tube | Adjust float level |
| Flapper Leak | Water leaks into bowl, detected using food coloring | Replace flapper |
| Fill Valve Problem | Continuous running, damaged or dirty fill valve | Clean or replace fill valve |
By addressing these common issues, you can often resolve the problem of a running toilet. Regular maintenance and inspections can help prevent such issues from arising in the future, ensuring your plumbing system operates efficiently.
Dealing with Clogged Drains
Clearing clogged drains is a straightforward process when you have the right techniques and tools. Clogged drains are not just an inconvenience; they can lead to more significant plumbing issues if not addressed promptly. In this section, we’ll explore easy plumbing fixes anyone can do to tackle clogged drains effectively.
Using a Plunger Effectively
A plunger is one of the most effective tools for dealing with clogged drains. To use it effectively, ensure the plunger is properly seated over the drain, then push down slowly and steadily until you feel resistance, and pull up sharply. This process can help dislodge the clog. Repeat this motion several times until the water drains freely.
Chemical Drain Cleaners
Chemical drain cleaners can be effective but should be used with caution. They contain harsh chemicals that can damage pipes or cause injury if not handled properly. Always follow the manufacturer’s instructions, and consider wearing protective gloves and eyewear. However, for those looking for a safer alternative, there are other options.
Natural Solutions with Baking Soda
A natural and environmentally friendly solution involves using baking soda and vinegar. Pour 1/2 cup of baking soda down the drain, followed by 1/2 cup of vinegar. Let the mixture sit for a few hours or overnight, then pour hot water down the drain to rinse. This method is not only easy plumbing fixes anyone can do but also a safe way to clear clogs without damaging your pipes.
By applying these plumbing repair tips, you can effectively deal with clogged drains and prevent future occurrences. Regular maintenance, such as checking your drains for hair and other debris, can also help keep your plumbing system running smoothly.
Basic Pipe Repairs
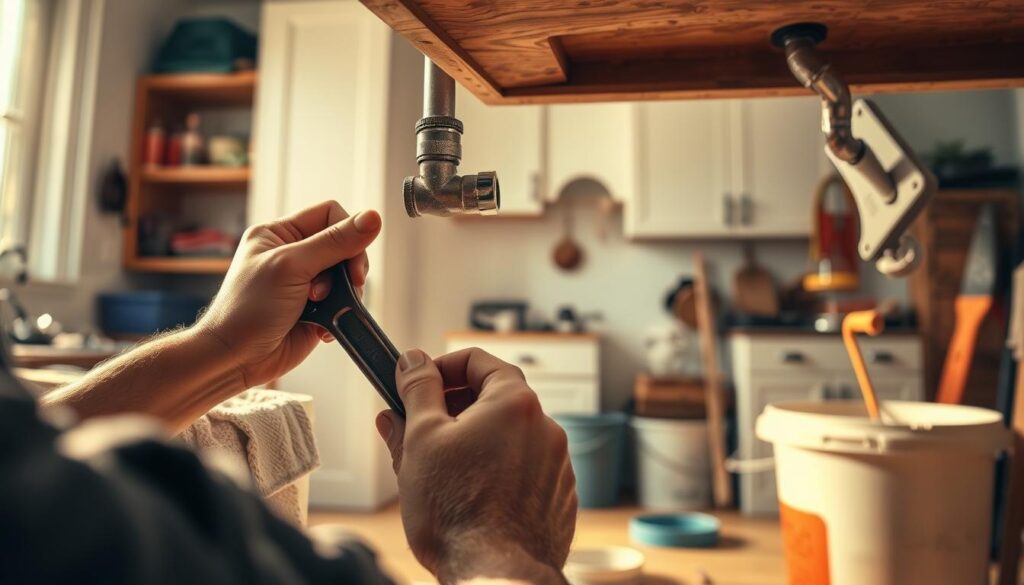
When it comes to DIY plumbing solutions, one of the most critical skills to have is basic pipe repairs. Pipes are the backbone of a home’s plumbing system, and leaks or damage can lead to significant issues if not addressed promptly.
Spotting Small Leaks
The first step in pipe repair is identifying the problem. Small leaks can often be detected by looking for signs of moisture or water damage around pipes. It’s essential to check under sinks, around water heaters, and near appliances that use water.
- Check for water droplets or mineral deposits on pipes.
- Look for warped or discolored flooring and walls.
- Listen for the sound of running water when faucets are turned off.
Using Epoxy Putty
For a quick fix, epoxy putty can be used to seal small leaks. This putty is a mixture of resin and hardener that, when combined, form a durable seal. To use epoxy putty, follow these steps:
- Clean the area around the leak thoroughly.
- Mix the epoxy putty according to the manufacturer’s instructions.
- Apply the putty to the leak, ensuring it’s fully covered.
- Allow the putty to dry completely before testing the pipe.
For more information on plumbing tools and materials, visit top plumbing tools and pipes for DIY.
Replacing Sections of Pipe
In cases where the damage is more extensive, it may be necessary to replace sections of pipe. This involves cutting out the damaged section and replacing it with new pipe. To do this effectively:
- Turn off the main water supply to prevent further leakage.
- Use a pipe cutter to remove the damaged section.
- Clean and prepare the ends of the remaining pipe.
- Install the new section of pipe, ensuring it’s securely connected.
For more complex repairs, consider consulting resources like The Family Handyman’s top plumbing fixes.
Unclogging a Toilet
Unclogging a toilet is a task that many homeowners face at some point, and it’s essential to know the right techniques. A clogged toilet can be more than just an inconvenience; it can lead to messy overflows and potential water damage. Understanding how to address the issue effectively is crucial for any homeowner.
Step-by-Step Plunge Technique
The first line of defense against a clogged toilet is usually a plunger. To use it effectively, ensure there’s enough water in the bowl to cover the plunger’s rubber edge. Place the plunger over the drain hole, and push down slowly and steadily until you feel resistance, then pull up sharply. Repeat this motion several times. The goal is to create enough suction to dislodge the clog.
Using a Toilet Auger
If plunging doesn’t work, the next step is to use a toilet auger. This tool is designed to reach deeper into the toilet drain to break up or retrieve clogs that are further down the line. Feed the auger’s cable into the drain until you feel resistance, then crank the handle to break up the clog. After using the auger, flush the toilet to check if the clog is cleared.
| Tool | Purpose | Best For |
|---|---|---|
| Plunger | Creates suction to dislodge clogs | Simple clogs near the surface |
| Toilet Auger | Breaks up or retrieves deeper clogs | Clogs further down the drain line |
When to Call a Professional
If you’ve tried plunging and using a toilet auger without success, it may be time to call a professional plumber. Persistent clogs can indicate a more serious issue within your plumbing system, such as a blockage in the main sewer line. For complex problems like these, a professional has the tools and expertise to diagnose and fix the issue correctly. You can find more detailed guidance on unclogging toilets on Home Depot’s plumbing guide.
Water Heater Troubleshooting
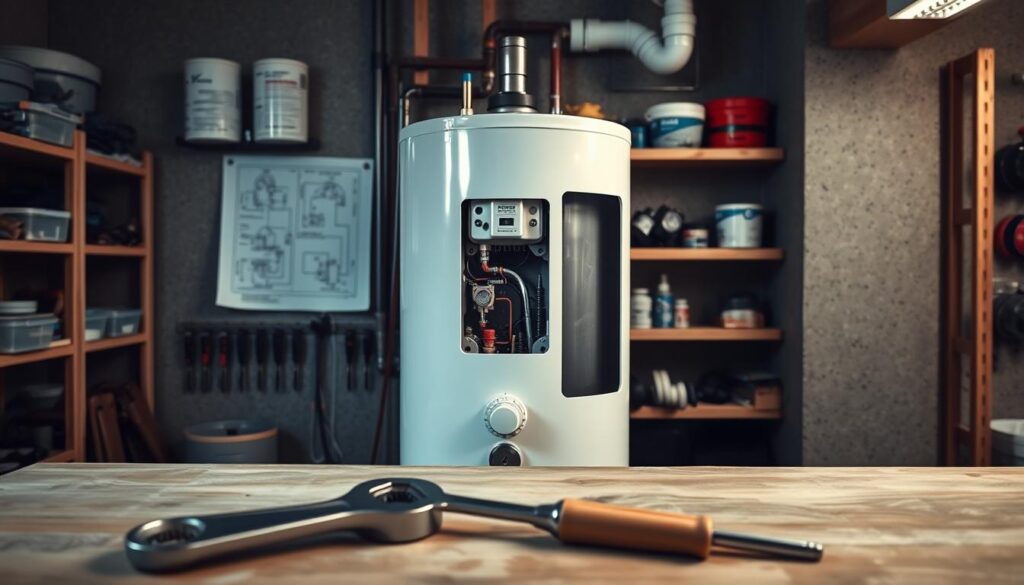
Before calling a professional, try these simple troubleshooting steps for your water heater to ensure it’s working efficiently. A well-maintained water heater is crucial for home plumbing maintenance and can significantly impact your energy bills.
Checking the Temperature Setting
The temperature setting on your water heater can greatly affect its performance. If the temperature is set too high, it can lead to scalding and increased energy consumption. Conversely, if it’s set too low, it may not provide sufficiently hot water. To check the temperature, locate the thermostat on your water heater and adjust it according to the manufacturer’s instructions. Typically, a setting of 120°F is recommended for a balance between comfort and energy efficiency.
Flushing the Heater
Over time, sediment can build up inside your water heater, reducing its efficiency and potentially causing damage. Flushing the heater is a simple DIY plumbing project that can help maintain its performance. To flush your water heater, turn off the power or gas supply, then attach a hose to the drain valve. Place the other end of the hose in a drain or bucket, and open the valve to allow the water to drain out. Be cautious, as the water may be hot.
Replacing the Anode Rod
The anode rod is a sacrificial component that protects your water heater from corrosion. Inspecting and replacing the anode rod is a critical aspect of home plumbing maintenance. To check the anode rod, turn off the power to the water heater, then locate and unscrew the rod. If it’s significantly corroded, it’s time to replace it. For detailed instructions, you can refer to guides like the one on repairing an electric water heater.
| Maintenance Task | Frequency | Benefits |
|---|---|---|
| Check Temperature Setting | Every 6 months | Energy Efficiency, Safety |
| Flush the Heater | Annually | Improved Efficiency, Longer Lifespan |
| Replace Anode Rod | Every 3-5 years | Prevents Corrosion, Extends Lifespan |
By following these troubleshooting steps, you can identify and potentially fix issues with your water heater, ensuring it operates efficiently and effectively. Regular maintenance is key to prolonging the lifespan of your water heater and avoiding costly repairs.
Simple Sump Pump Maintenance
A well-maintained sump pump is essential for preventing basement flooding and water damage. Homeowners often overlook this critical component until it’s too late, leading to costly repairs and potential health hazards.
To ensure your sump pump functions properly, regular maintenance is crucial. This involves several key steps that can help prevent failures during heavy rainfall or when water accumulation is high.
Testing the Pump
One of the simplest ways to verify that your sump pump is working correctly is to test it. You can do this by pouring water into the sump pit until the pump activates. Observe how it operates and ensure it shuts off once the water level drops. If it doesn’t turn on or struggles to remove water, it may be a sign of a problem that needs addressing.
Cleaning the Pit
Debris and sediment can accumulate in the sump pit over time, potentially clogging the pump or its intake. Regularly cleaning the pit is vital to maintain the pump’s efficiency. Remove any visible debris and check the pit’s condition. Ensure the pit is free from dirt and sediment to allow the pump to function correctly.
Checking the Power Source
A sump pump relies on a power source to operate, making it crucial to ensure this source is stable and reliable. Check that the pump is properly plugged in and that the outlet is working. Consider installing a backup power source, such as a battery-powered system, to keep the pump operational during power outages.
By following these simple maintenance steps, homeowners can significantly reduce the risk of sump pump failure and the subsequent damage it can cause. Regular checks and maintenance can provide peace of mind and protect your home from potential water damage.
Fixing a Dripping Showerhead
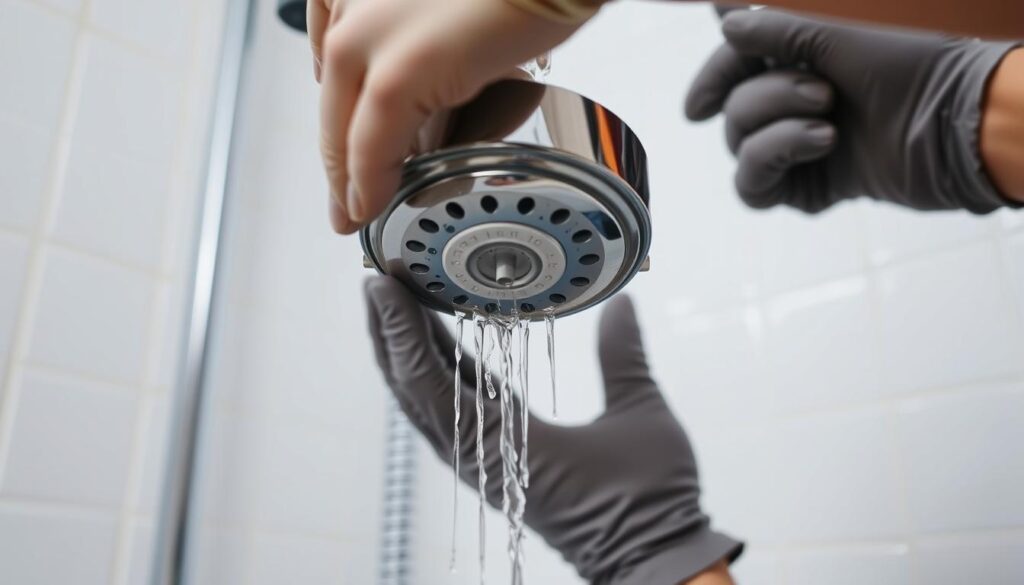
One of the easiest plumbing fixes anyone can do is repairing a dripping showerhead, which can also help lower your water bill. A leaky showerhead can waste a significant amount of water, leading to increased utility costs. Fortunately, fixing this issue is relatively straightforward.
Understanding the Cause: Before you start fixing the showerhead, it’s essential to understand the cause of the leak. Mineral deposits and worn-out components are common culprits.
Cleaning Mineral Deposits
Mineral deposits can clog the showerhead’s aerator and cause leaks. To clean these deposits:
- Remove the showerhead from the shower arm.
- Soak it in a mixture of vinegar and water for several hours or overnight.
- Use a soft brush to scrub away any remaining deposits.
- Rinse thoroughly and reattach the showerhead.
Vinegar is a natural and effective cleaning agent that can dissolve mineral deposits without damaging the showerhead. As noted by a plumbing expert, “Using vinegar to clean mineral deposits is a simple yet effective method that can be done at home.”
“Vinegar’s acidity helps break down mineral buildup, restoring your showerhead’s original performance.”
Replacing Showerhead Components
If cleaning doesn’t solve the issue, you might need to replace worn-out components. Common parts to replace include:
| Component | Description | Replacement Tip |
|---|---|---|
| O-Rings | Seal the showerhead to the shower arm | Apply plumber’s tape for a tight seal |
| Washers | Help regulate water flow | Choose washers that fit your showerhead model |
| Aerator | Mixes water with air for a smoother flow | Clean or replace if clogged with mineral deposits |
Replacing these components can be a simple plumbing repair that you can do yourself with the right tools and a bit of patience.
By following these steps, you can fix a dripping showerhead and enjoy a more efficient and cost-effective showering experience. Regular maintenance, such as cleaning mineral deposits and checking for worn-out parts, can prevent future leaks and ensure your plumbing system operates smoothly.
Preventing Future Plumbing Issues
A proactive approach to plumbing maintenance can save homeowners from unexpected repair costs. By taking steps to prevent common plumbing issues, homeowners can enjoy a more comfortable and stress-free living environment.
Regular Maintenance Checks
Regular maintenance is the cornerstone of preventing plumbing issues. This includes checking for leaks under sinks, around toilets, and near water heaters. Homeowners should also inspect their pipes for signs of wear and tear, such as rust or corrosion.
Inspecting your plumbing system regularly can help identify potential issues before they become major problems. For instance, a small leak can be fixed before it causes significant water damage.
Importance of Drain Screens
Drain screens are simple devices that can significantly reduce the risk of clogs. By catching hair and other debris before they go down the drain, these screens can prevent many common plumbing issues.
Using drain screens in your sinks, showers, and tubs is a simple yet effective way to maintain your plumbing system. Regularly cleaning these screens will ensure they continue to function properly.
Educating Family Members
Educating all family members on basic plumbing maintenance can go a long way in preventing issues. This includes teaching them what can and cannot be flushed down toilets and drains, as well as how to identify early signs of plumbing problems.
By working together, families can maintain a healthy plumbing system and avoid costly repairs. Simple practices, such as not pouring grease down the drain, can make a significant difference.
In conclusion, preventing future plumbing issues requires a combination of regular maintenance, the use of preventive devices like drain screens, and education. By adopting these strategies, homeowners can protect their homes and wallets from the inconvenience and expense of plumbing repairs.
Eco-Friendly Plumbing Tips
With the growing concern over water conservation, adopting eco-friendly plumbing practices is a step in the right direction. Homeowners can significantly reduce their water usage and environmental impact by implementing simple yet effective changes in their plumbing systems.
Low-Flow Fixtures
One of the most straightforward ways to make your plumbing more eco-friendly is by installing low-flow fixtures. These include showerheads, faucets, and toilets designed to use significantly less water without compromising performance.
- Water Savings: Low-flow fixtures can reduce water usage by up to 50%.
- Energy Efficiency: Less water used means less energy required to heat it, leading to additional savings.
- Incentives: Many utility companies offer rebates for installing low-flow fixtures.
Rainwater Harvesting Systems
Rainwater harvesting involves collecting and storing rainwater for various uses around the home, such as watering plants, washing cars, and even flushing toilets. This practice not only conserves water but also reduces the demand on municipal water supplies.
“Rainwater harvesting is a simple and effective way to reduce your water bill and help the environment. By collecting rainwater, homeowners can decrease their reliance on municipal water supplies, lowering the strain on urban drainage systems during heavy rainfall events.”
Implementing a rainwater harvesting system can be as simple as installing a barrel under a downspout or as complex as designing a comprehensive collection and filtration system. The benefits include:
- Reduced Water Bills: Using harvested rainwater for non-potable purposes can significantly lower your water bill.
- Stormwater Management: By capturing rainwater, you can reduce stormwater runoff, which helps prevent erosion and reduces the burden on urban drainage systems.
- Sustainability: Rainwater harvesting promotes sustainable living by making use of a natural resource that would otherwise be wasted.
By incorporating these eco-friendly plumbing tips into your home maintenance routine, you can contribute to a more sustainable future while also enjoying the benefits of lower utility bills and a reduced environmental footprint.
When to Call a Professional Plumber
While DIY plumbing repairs can be cost-effective, knowing when to call a professional is crucial for avoiding further damage and ensuring safety. A plumbing troubleshooting guide can help identify common plumbing problems, but some issues require expert intervention.
Complex Issues Require Expertise
Complex plumbing issues, such as burst pipes or malfunctioning water heaters, demand the attention of a professional plumber. These problems can lead to significant water damage or safety hazards if not addressed properly.
Assessing the Risks of DIY Repairs
Before attempting any DIY plumbing repair, it’s essential to assess the risks involved. If you’re unsure about the diagnosis or the repair process, it’s best to seek professional help to avoid exacerbating the issue.
Finding a Reliable Plumber
When searching for a trusted plumber, look for licensed professionals with good reputations. Check online reviews, ask for referrals, and verify their insurance coverage to ensure you’re hiring a reliable expert to fix your plumbing issues.
