Fixing a leaky faucet or unclogging a drain can be a daunting task for many homeowners. However, DIY plumbing repairs can be a cost-effective and empowering solution. By taking a hands-on approach, homeowners can address minor issues before they become major problems, reducing the need for costly professional interventions.
Simple plumbing fixes can save homeowners a significant amount of money. Basic tools and skills are all that’s required to tackle common plumbing issues. This not only helps in saving money but also develops handy skills.
Key Takeaways
- DIY plumbing repairs can save homeowners money.
- Basic tools and skills are sufficient for simple plumbing fixes.
- Addressing minor issues early can prevent major problems.
- Homeowners can develop handy skills through DIY plumbing repairs.
- Reducing the need for professional interventions can be cost-effective.
Common Plumbing Problems Homeowners Face
Common plumbing issues such as leaky faucets, running toilets, and clogged drains are more than just minor inconveniences. They can lead to significant water waste, increased utility bills, and potentially costly repairs if not addressed promptly. Understanding these common problems is the first step in being able to tackle them effectively.
Leaky Faucets
A leaky faucet is not only annoying, but it can also waste a substantial amount of water over time. The constant dripping can be due to worn-out washers or O-rings, corroded valve seats, or improper installation. For a DIY plumbing repair, one can start by identifying the source of the leak and replacing the faulty parts.
Running Toilets
A running toilet can waste a significant amount of water, leading to higher water bills. The issue is often due to a faulty flapper or an improperly adjusted float. Homeowners can troubleshoot this by checking the flapper’s seal and adjusting the float to ensure it shuts off correctly when the tank is full.
Clogged Drains
Clogged drains are another common issue that can cause inconvenience and lead to more severe plumbing problems. Hair, soap scum, and grease are typical culprits that clog drains. Using a plunger or a drain snake can often resolve the issue. For more stubborn clogs, a plumbing troubleshooting guide can provide additional methods and techniques.
| Issue | Common Cause | DIY Fix |
|---|---|---|
| Leaky Faucet | Worn-out washers or O-rings | Replace faulty parts |
| Running Toilet | Faulty flapper or misadjusted float | Adjust or replace flapper |
| Clogged Drain | Hair, soap scum, grease buildup | Use plunger or drain snake |
By understanding these common plumbing issues and knowing how to address them, homeowners can save water, reduce their utility bills, and avoid more costly repairs down the line. Regular maintenance and being proactive can significantly reduce the occurrence of these problems.
Essential Tools for Plumbing Repairs
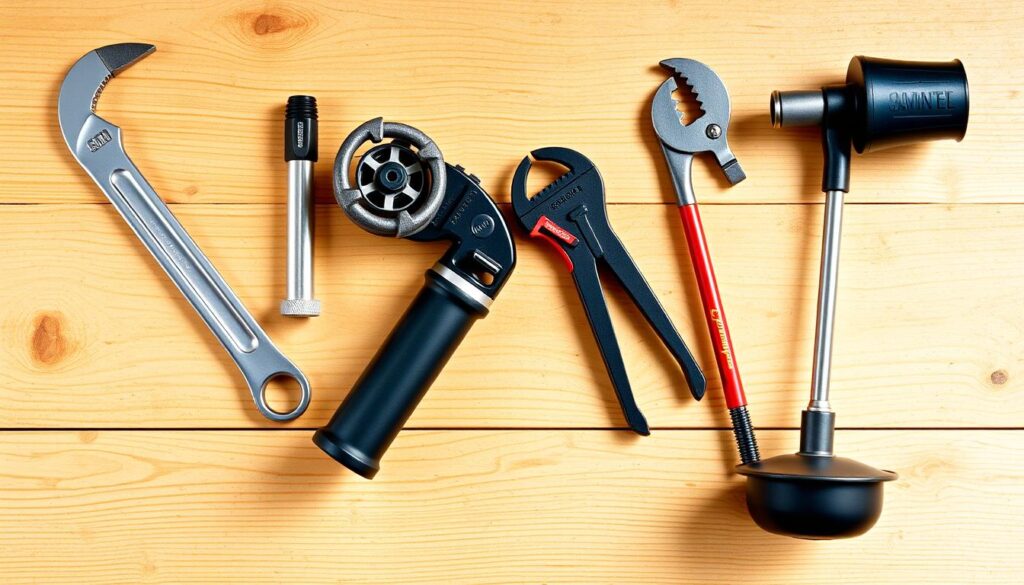
Before diving into plumbing repairs, it’s essential to gather the necessary tools and materials. Having the right equipment can make a significant difference in the ease and success of your DIY plumbing projects.
Wrench Sets
A good wrench set is fundamental for any plumbing repair. It includes various sizes and types of wrenches, such as adjustable wrenches and basin wrenches, which are used for tightening and loosening fittings and fixtures.
Types of Wrenches:
- Adjustable Wrenches
- Basin Wrenches
- Pipe Wrenches
Plumbers’ Tape
Plumbers’ tape, also known as Teflon tape, is used to create a watertight seal on threaded pipe connections. It’s a simple yet crucial tool for preventing leaks in your plumbing system.
“Using plumbers’ tape correctly can save you from many potential leaks and headaches in your plumbing projects.”
Drain Snakes
Drain snakes, or augers, are used to clear clogs in drains and pipes. They come in various lengths and can be manual or electric, making them versatile for different types of clogs.
| Type of Drain Snake | Description | Use Case |
|---|---|---|
| Manual Drain Snake | A handheld tool used to break up clogs. | Ideal for minor clogs and maintenance. |
| Electric Drain Snake | A power-driven auger for tougher clogs. | Best for severe clogs and deeper pipes. |
By equipping yourself with these essential tools, you’ll be well-prepared to tackle common plumbing repairs and maintenance tasks. Remember, having the right tool for the job not only makes the task easier but also helps prevent further damage to your plumbing system.
How to Fix a Leaky Faucet
A leaky faucet can be more than just annoying; it’s a waste of water that can be fixed with a few simple steps. Fixing it not only saves you money on your utility bills but also contributes to water conservation.
Identifying the Type of Faucet
The first step in fixing a leaky faucet is to identify its type. The most common types are compression, cartridge, ball-and-socket, and ceramic-disk faucets. Understanding the type of faucet you have is crucial because each requires a different repair approach.
For instance, compression faucets have separate handles for hot and cold water and are fixed by replacing the worn-out washer. On the other hand, cartridge faucets have a single handle and may require replacing the cartridge.
Replacing Washers and O-Rings
Once you’ve identified your faucet type, the next step is to replace the worn-out parts. For compression faucets, this typically involves replacing the washer. For other types, it might involve replacing O-rings or cartridges.
To replace these parts, you’ll need to disassemble the faucet. Start by turning off the water supply. Then, remove the handle to access the stem and the worn-out parts. Use a wrench to loosen any corroded parts, and replace the washers or O-rings with new ones.
| Faucet Type | Parts to Replace | Tools Needed |
|---|---|---|
| Compression | Washer | Wrench, Screwdriver |
| Cartridge | Cartridge | Wrench, Pliers |
| Ball-and-Socket | O-Rings, Cam, and Ball | Wrench, Specialized Tool |
Testing for Leaks
After replacing the necessary parts, reassemble the faucet and turn on the water supply. Check the faucet for leaks by turning it on and off several times. If the leak persists, you may need to tighten or replace additional parts.
For more complex issues or if you’re not comfortable with DIY repairs, consider consulting a professional. You can find trusted plumbing experts at Plumbing Experts who can provide quick and reliable solutions.
“The best way to get the job done right is to have a professional inspect and repair your plumbing system.”
Dealing with a Running Toilet
One of the most common plumbing issues homeowners face is a running toilet, which can be resolved with the right troubleshooting steps. A running toilet not only wastes water but also increases your utility bills. Fortunately, fixing it is often a simple DIY task.
Adjusting the Float
The float is a critical component of your toilet’s tank. If it’s set too high, water will continue to flow into the overflow tube, causing the toilet to run constantly. To fix this, you need to adjust the float to a level where it shuts off the water supply before it reaches the overflow tube. This is a straightforward DIY plumbing repair that requires minimal tools.
Replacing the Flapper
A worn-out or damaged flapper can also cause a toilet to run continuously. The flapper is the rubber valve that covers the hole at the bottom of the tank. If it doesn’t seal properly, water leaks into the bowl, triggering the fill valve to refill the tank. To fix this, you’ll need to replace the flapper, a task that involves turning off the water supply, draining the tank, and installing a new flapper.
Checking for Leaks
Leaks in the toilet tank or bowl can also lead to a running toilet. To identify a leak, you can perform a simple dye test. Add a few drops of food coloring to the tank and wait for about 30 minutes without flushing. If the color appears in the bowl, there’s a leak. For more complex leaks, it might be necessary to consult a professional or explore further plumbing troubleshooting techniques.
By addressing these common issues—adjusting the float, replacing the flapper, and checking for leaks—you can effectively fix a running toilet and prevent unnecessary water waste. Regular maintenance and prompt repairs are key to avoiding increased water bills and ensuring your plumbing system operates efficiently.
Quick Solutions for Clogged Drains
Dealing with a clogged drain can be frustrating, but there are quick solutions available. Clogged drains are a common plumbing issue that homeowners face, and addressing them promptly is crucial to prevent further damage.
Using a Plunger
A plunger is one of the most effective tools for clearing clogged drains. To use a plunger correctly, ensure the drain is covered by the plunger’s cup, and then push down slowly and steadily until you feel resistance. Repeat this process several times to create suction that can dislodge the clog.
Homemade Drain Cleaners
For those looking for a DIY approach, homemade drain cleaners can be an effective and eco-friendly solution. A mixture of baking soda and vinegar can help dissolve blockages. Pour 1/2 cup of baking soda down the drain, followed by 1/2 cup of vinegar. Let the mixture sit for a few hours or overnight before rinsing with hot water.
| Method | Materials Needed | Effectiveness |
|---|---|---|
| Plunger | Plunger | High |
| Homemade Cleaner | Baking Soda, Vinegar | Moderate |
| Professional Help | None | Very High |
When to Call a Professional
If the clog persists after trying the above methods, it may be time to call a professional plumber. Recurring clogs or those accompanied by other symptoms like leaks or strange noises may indicate a more serious underlying issue. Professionals have the tools and expertise to diagnose and fix complex problems, ensuring your plumbing system operates smoothly.
By understanding these quick solutions for clogged drains, homeowners can take proactive steps to maintain their plumbing systems and avoid more costly repairs down the line.
Tips for Preventing Plumbing Issues
Proactive plumbing maintenance is essential for preventing unexpected issues and ensuring the longevity of your home’s plumbing infrastructure. By adopting a few simple preventive measures, homeowners can significantly reduce the likelihood of plumbing emergencies and prolong the lifespan of their plumbing systems.
Regular Maintenance Checks
Regular maintenance checks are crucial for identifying potential issues before they become major problems. Homeowners should inspect their plumbing systems regularly, looking for signs of leaks, corrosion, or wear and tear. For more detailed guidance on plumbing maintenance, visit Poole’s Plumbing blog for expert advice.
- Check for leaks under sinks and around toilets.
- Inspect pipes for signs of corrosion or damage.
- Test water pressure to ensure it’s within a safe range.
Be Cautious with Drain Cleaning Products
The use of drain cleaning products can be effective in clearing clogs, but these products can also damage pipes if used excessively. Homeowners should be cautious and consider alternative methods for clearing drains, such as using a plunger or a drain snake.
| Drain Cleaning Method | Pros | Cons |
|---|---|---|
| Chemical Drain Cleaners | Quick and effective | Can damage pipes, harmful to skin and eyes |
| Plunger | Safe, non-corrosive, cost-effective | May not work for severe clogs |
| Drain Snake | Effective for removing clogs, versatile | Can be messy, requires some skill |
Preventing Pipe Freezing
In colder climates, preventing pipe freezing is a critical aspect of home plumbing maintenance. Insulating exposed pipes, letting faucets drip during extreme cold, and opening cabinet doors under sinks can help prevent pipes from freezing and bursting.
By following these plumbing prevention tips and maintaining a proactive approach to home plumbing maintenance, homeowners can enjoy affordable plumbing solutions and reduce the risk of costly repairs. Regular checks, cautious use of cleaning products, and winterizing pipes are key strategies for a well-maintained plumbing system.
How to Turn Off Your Water Supply
One of the most important plumbing skills homeowners can have is knowing how to turn off the water supply. This knowledge can prevent extensive water damage during emergencies.
Locating the Shut-Off Valve
The main shut-off valve is typically found near the water meter or where the water line enters your home. It’s crucial to identify this valve before an emergency arises.
- Check near the water heater or in the basement.
- Look for a valve that controls the water supply.
- Familiarize yourself with the valve’s operation.
Practicing Shut-Off Procedures
Practicing how to turn off the water supply is just as important as knowing where the valve is located.
- Turn the valve clockwise to shut off the supply.
- Check that the water supply is completely off.
- Practice turning it back on counterclockwise.
Emergency Shut-Off Tips
In an emergency, every second counts. Here are some tips to keep in mind:
- Stay calm and act quickly.
- Use the main shut-off valve to stop the water supply.
- Call a professional plumber if necessary.
By following these steps, you can effectively manage plumbing emergencies and minimize potential damage.
Steps for Fixing a Leaky Pipe
Addressing a leaky pipe requires a systematic approach to prevent further damage. Homeowners can mitigate the risks associated with leaky pipes by following a few straightforward steps.
Identifying the Leak Source
The first step in fixing a leaky pipe is to identify the source of the leak. This involves inspecting your plumbing system for signs of moisture or water droplets. Common areas where leaks occur include under sinks, around toilets, and near water heaters.
Inspection Tips:
- Check for water droplets or signs of moisture.
- Inspect pipe joints and connections.
- Look for rust or corrosion on pipes.
Applying Pipe Sealants
Once the leak source is identified, applying pipe sealants can be an effective fix. Pipe sealants, such as plumber’s tape or pipe glue, can seal gaps and cracks in pipes.
Types of Pipe Sealants:
| Sealant Type | Application | Durability |
|---|---|---|
| Plumber’s Tape | Thread sealant for pipe threads | Moderate |
| Pipe Glue | Bonding PVC pipes | High |
| Epoxy | Sealing cracks and gaps | Very High |
Temporary Fixes
In some cases, a temporary fix may be necessary to mitigate immediate damage. Using a pipe clamp or epoxy putty can provide a temporary solution until a more permanent repair can be made.
“A stitch in time saves nine.” – This old adage is particularly relevant when dealing with leaky pipes, as prompt action can prevent more extensive damage.
Understanding Your Home’s Plumbing System
Knowing the basics of your home’s plumbing can save you from unexpected repairs. Your home’s plumbing system is a complex network of pipes, fixtures, and appliances that work together to supply water and remove waste.
Pipe Types and Functions
Pipes are the backbone of your plumbing system, and they come in various types, each serving a specific function. The most common types include:
- PVC (Polyvinyl Chloride) Pipes: Known for their durability and resistance to corrosion, PVC pipes are often used for drainage and sewage systems.
- PEX (Cross-linked Polyethylene) Pipes: Flexible and resistant to freezing, PEX pipes are ideal for water supply lines.
- Copper Pipes: Copper pipes are durable and have antimicrobial properties, making them suitable for water supply lines.
Water Supply vs. Drainage Systems
Your home’s plumbing system consists of two main subsystems: the water supply system and the drainage system. The water supply system brings fresh water into your home, while the drainage system removes wastewater. Understanding the difference between these two systems is crucial for maintaining your plumbing. For emergency situations, knowing how to shut off your main water supply can prevent extensive damage, a service offered by emergency contractor services.
Common Plumbing Terms
Familiarizing yourself with common plumbing terms can help you communicate effectively with professionals and understand your system’s components. Some key terms include:
- Backflow: The reversal of water flow in your plumbing system, which can contaminate your water supply.
- Water Hammer: A banging noise in your pipes caused by sudden changes in water flow.
- PSI (Pounds per Square Inch): A measure of water pressure in your plumbing system.
By understanding these basics, you’ll be better equipped to maintain your plumbing system and address any issues that arise.
Safety Precautions in Plumbing Repairs
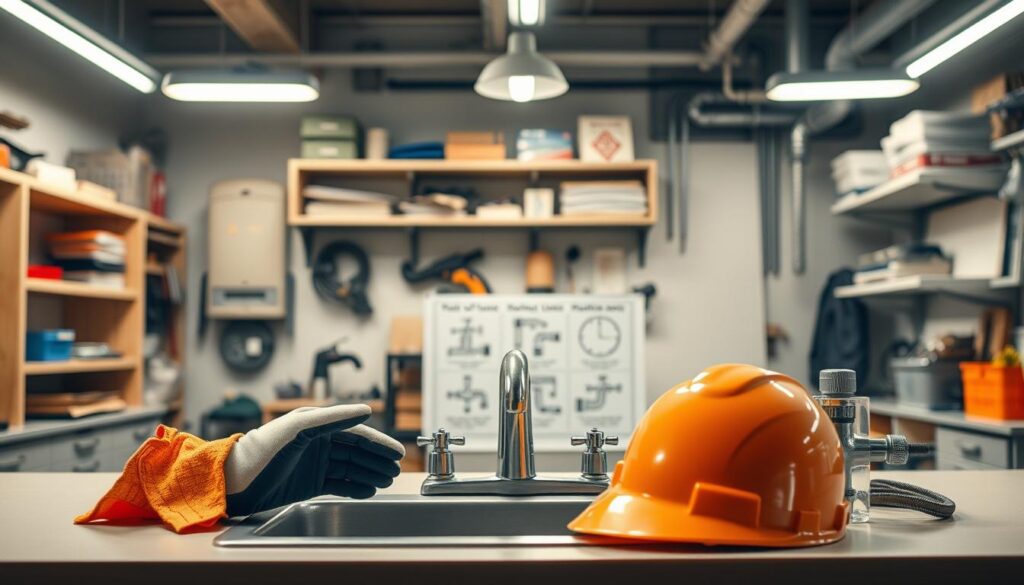
Before starting any plumbing repair, it’s crucial to take necessary safety measures. Plumbing repairs can involve working with sharp tools, hazardous materials, and complex systems, making safety a top priority.
Wearing Protective Gear
One of the fundamental aspects of plumbing repair safety is wearing the right protective gear. This includes gloves to protect your hands from cuts and abrasions, safety glasses to prevent eye injuries, and a face mask to avoid inhaling dust and debris. Ensuring you have the proper protective equipment can significantly reduce the risk of injury.
- Gloves: Protect hands from sharp edges and rough surfaces.
- Safety Glasses: Prevent eye injuries from flying debris.
- Face Mask: Reduce inhalation of dust and harmful particles.
Ensuring Proper Ventilation
Proper ventilation is essential when working on plumbing repairs, especially when using chemicals or working in confined spaces. Good ventilation helps prevent the buildup of harmful fumes and reduces the risk of respiratory issues. Open windows, use fans, or install a ventilation system to ensure a safe working environment.
For more information on maintaining a safe home environment, you can visit Travelers.com for basic home maintenance tips to help protect against water damage.
Avoiding Electric Hazards
Avoiding electric hazards is another critical aspect of DIY safety precautions. When working on plumbing repairs, it’s easy to accidentally come into contact with electrical components or wiring. Ensure that you turn off the power to the area you’re working on, and consider using a GFCI (Ground Fault Circuit Interrupter) outlet to prevent electrical shocks.
For complex plumbing repairs or when in doubt, it’s advisable to seek professional help. Companies like World Civil Society offer 24/7 construction and repair services, ensuring that your plumbing issues are handled efficiently and safely.
By following these plumbing safety tips and taking the necessary precautions, you can minimize risks and ensure a safe and successful plumbing repair experience.
When to Consider Professional Help
While DIY plumbing repairs can be cost-effective, there are times when calling a professional is the best course of action. Understanding the limits of your DIY skills and recognizing the signs of major plumbing issues can save you from potential headaches and further damage to your home.
Signs of Extensive Damage
One of the key indicators that you need professional help is when you notice signs of extensive damage. This can include water leaking from unexpected places, a significant increase in your water bill without a clear reason, or visible signs of water damage on walls and ceilings. In such cases, it’s crucial to act quickly to prevent further damage.
As emphasized by a professional plumber, “Ignoring the early signs of plumbing issues can lead to more severe problems that are not only costly but also disruptive to your daily life.” For more information on DIY plumbing fixes and knowing when to call a professional, you can visit KandK Plumbing’s guide.
Major Plumbing Emergencies
Some plumbing issues constitute emergencies that require immediate professional attention. These include burst pipes, severe leaks, or a completely clogged main sewer line. In such situations, knowing how to turn off your main water supply is crucial, but it’s equally important to call a professional plumber right away to mitigate the damage.
“In the event of a plumbing emergency, every minute counts. Quick action can significantly reduce the extent of the damage.”
Assessing Your Skill Level
It’s also vital to honestly assess your DIY skill level and not hesitate to call a professional when you’re in over your head. Plumbing repairs can be complex and require specialized tools and knowledge. If you’re unsure about how to proceed with a repair or if the problem persists after your attempts to fix it, it’s time to seek professional help.
By being aware of the signs that indicate the need for professional plumbing assistance, you can ensure that your home’s plumbing system is handled properly, avoiding potential risks and further complications.
Lifespan of Plumbing Fixtures and Systems
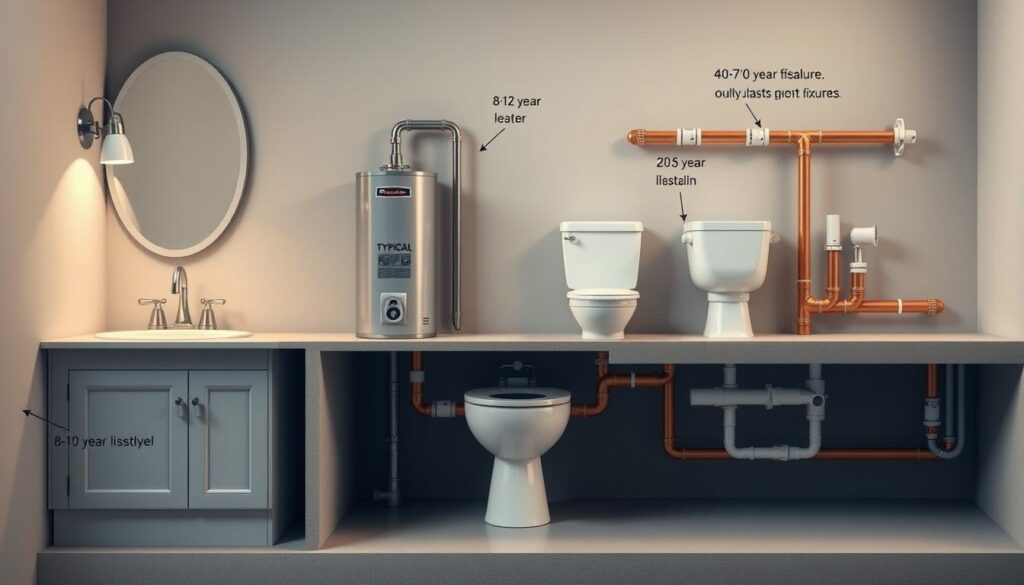
Knowing how long plumbing fixtures and systems last can help homeowners anticipate and prepare for necessary repairs or replacements. This knowledge is crucial for maintaining a home’s overall plumbing health and avoiding unexpected emergencies.
Typical Lifespan of Pipes
The lifespan of pipes varies significantly based on the material used. For instance:
- Copper pipes can last between 20 to 50 years.
- PVC pipes typically have a lifespan of 25 to 40 years.
- Galvanized steel pipes may last around 20 to 30 years but are prone to corrosion.
Understanding the type of pipes in your home can help you plan for potential replacements. For more detailed information on the lifespan of different plumbing systems, you can refer to this resource.
Indicators to Replace Fixtures
Several signs indicate that plumbing fixtures may need to be replaced:
- Frequent leaks or drips.
- Reduced water pressure.
- Visible signs of wear and tear, such as rust or corrosion.
Replacing fixtures at the right time can prevent more significant issues, such as water damage or system failures.
Cost-Effective Upgrades
When upgrading plumbing fixtures, consider options that offer long-term savings:
- Low-flow faucets and toilets can reduce water consumption.
- Tankless water heaters provide energy efficiency.
- Smart plumbing fixtures can help detect leaks early.
Investing in these upgrades can lead to cost-effective plumbing upgrades by reducing utility bills and minimizing the need for frequent repairs.
By understanding the lifespan of your plumbing fixtures and systems, you can better plan for plumbing maintenance and avoid costly surprises.
Conclusion: Summary of Handy Plumbing Tips
Mastering basic plumbing repairs can significantly reduce the stress and cost associated with common household issues. By understanding how to tackle leaky faucets, running toilets, and clogged drains, homeowners can take control of their plumbing maintenance.
Key Takeaways for DIY Plumbing
Recapping the essential plumbing tips covered, it’s clear that regular maintenance is crucial. Simple actions like checking for leaks, using the right tools, and being mindful of drain cleaning products can prevent major issues.
Embracing DIY plumbing solutions not only saves money but also enhances your ability to handle unexpected repairs. With the right handy plumbing tips, homeowners can confidently manage their plumbing systems, ensuring a safer and more efficient home.
Proactive Plumbing Maintenance
Regular checks and timely interventions are vital to extending the lifespan of plumbing fixtures and systems. By adopting a proactive approach, homeowners can avoid costly emergencies and maintain a well-functioning plumbing system.
