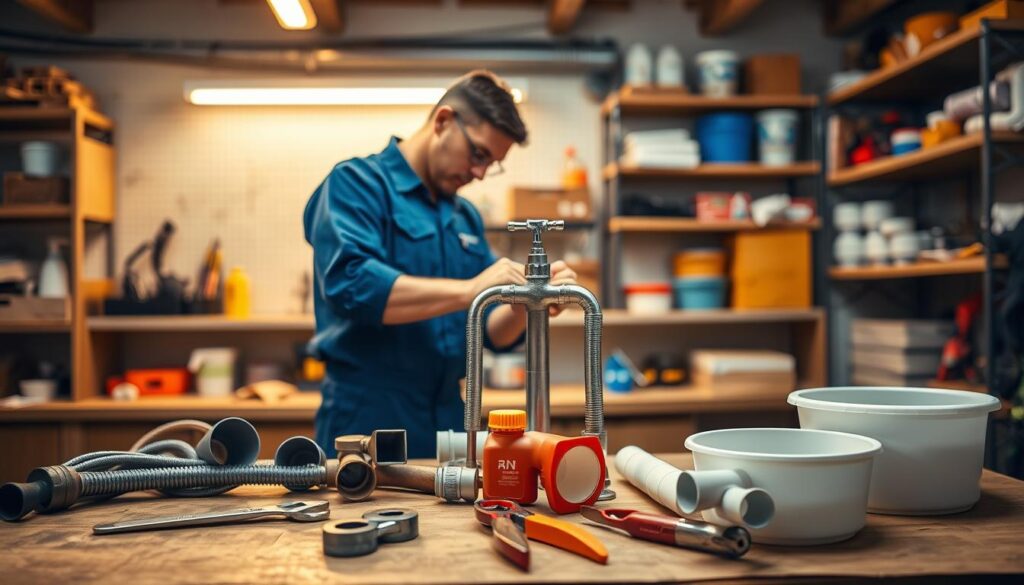
Leaky faucets, clogged drains, and toilet issues can be frustrating and costly. However, many of these common plumbing problems can be resolved with simple DIY repairs, saving you money and making you self-sufficient.
By learning basic plumbing skills and using the right tools, homeowners can tackle various plumbing issues. For instance, a leaky faucet can often be fixed by replacing worn-out parts, while clogged drains can be cleared using a plunger or drain snake. For more complex issues, it’s essential to know when to seek professional help from plumbing experts.
Key Takeaways
- DIY plumbing repairs can save homeowners money.
- Basic plumbing skills and tools are necessary for simple repairs.
- Knowing when to seek professional help is crucial.
- Common plumbing issues include leaky faucets and clogged drains.
- Regular maintenance can prevent major plumbing problems.
Common Plumbing Issues and How to Identify Them
Understanding the signs of common plumbing issues can help homeowners take corrective action before the problems escalate. Plumbing issues can be a significant source of stress and financial burden if not addressed promptly.
Dripping Faucets: Causes and Solutions
A dripping faucet is not just annoying; it’s also a sign of a problem that needs fixing. The most common cause is a worn-out or damaged O-ring or washer. To fix it, you’ll need to disassemble the faucet and replace the faulty part. For beginners, it’s essential to identify the faucet type before starting the repair. You can find more information on DIY plumbing tools and pipes to help you get started.
Running Toilets: Common Fixes
A running toilet can waste a significant amount of water, leading to higher utility bills. The issue is often caused by a faulty flapper or fill valve. Adjusting or replacing these parts can usually resolve the problem. It’s crucial to understand the toilet mechanism to identify the root cause of the issue.
Leaky Pipes: Signs to Watch For
Leaky pipes can cause significant damage if not detected early. Signs include water stains on walls or ceilings, warped flooring, and an unexpected increase in water bills. Inspecting your pipes regularly can help you catch leaks before they become major issues. As
“The key to preventing significant plumbing damage is early detection and prompt repair.”
Essential Tools Every Homeowner Should Have
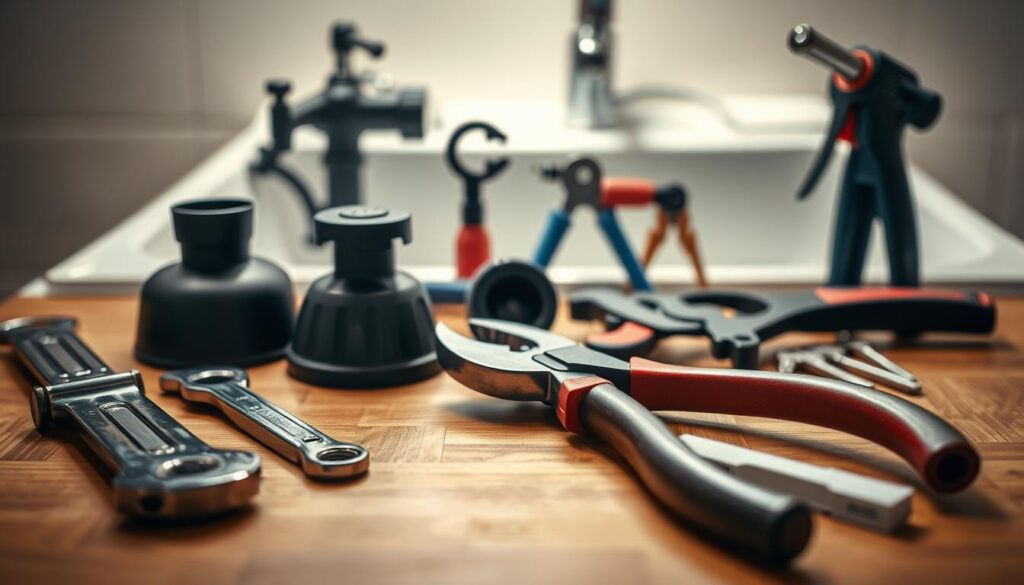
Every homeowner should be equipped with the essential tools needed for simple household plumbing solutions. Having the right equipment not only makes DIY repairs more manageable but also helps in preventing further damage to your plumbing system.
Basic Tool Kit: Must-Have Items
A basic tool kit is the foundation of any homeowner’s DIY arsenal. For plumbing repairs, you’ll need a variety of tools to tackle different tasks. Some of the must-have items include:
- Adjustable wrenches for tightening and loosening pipes and fittings
- Pliers for gripping small objects and bending or twisting pipes
- Screwdrivers (both flathead and Phillips) for assembling and disassembling fixtures
- Teflon tape for creating watertight seals on threaded pipes
Specialty Tools: When You Need Them
While a basic tool kit covers most DIY plumbing tasks, there are times when specialty tools are necessary. These tools are designed for specific jobs and can make a significant difference in the outcome of your repairs. Some examples include:
- Pipe snakes or augers for clearing clogs in drains
- Toilet augers for handling clogs in toilets
- Water pump pliers for gripping and twisting objects in tight spaces
Safety Gear: Protect Yourself During Repairs
Safety should always be a top priority when performing DIY plumbing repairs. Safety gear can protect you from potential hazards such as sharp edges, hot surfaces, and chemical splashes. Essential safety items include:
- Gloves for protecting your hands from cuts and abrasions
- Safety goggles for shielding your eyes from debris and chemical splashes
- A first aid kit for treating minor injuries
By having the right tools and safety gear, you’ll be well-prepared to tackle most plumbing repairs around the house. Remember, having the best tools for easy plumbing repairs is key to successful DIY projects.
How to Fix a Dripping Faucet in Minutes
With the right guidance, you can fix a dripping faucet in no time, saving water and reducing your utility bills. A dripping faucet is not just annoying; it’s also a waste of a precious resource. The good news is that fixing it is a relatively simple task that doesn’t require professional plumbing experience.
Identifying the Faucet Type
Before you start the repair, it’s crucial to identify the type of faucet you have. Faucets come in various styles, including cartridge, ball, and compression faucets. Each type has its unique characteristics and requires different repair approaches. For instance, a cartridge faucet might need a new cartridge, while a compression faucet may require replacing the worn-out O-rings or washers.
Disassembling the Faucet
To fix a dripping faucet, you’ll need to disassemble it. Start by turning off the water supply to the faucet. Then, remove the handle or knob to access the internal parts. For a more detailed guide on disassembling your specific faucet type, you can visit Home Depot’s guide on fixing a leaky for additional resources and tips.
Replacing O-Rings and Washers
Once you’ve accessed the internal parts, inspect the O-rings and washers for signs of wear. Replacing these worn-out parts is usually the solution to a dripping faucet. Make sure to purchase replacement parts that match your faucet’s specifications. After replacing the necessary parts, reassemble the faucet in the reverse order that you disassembled it.
| Faucet Type | Parts to Replace | Tools Needed |
|---|---|---|
| Compression | O-rings, Washers | Adjustable wrench, Channel-type pliers |
| Cartridge | Cartridge | Needle-nose pliers, Channel-type pliers |
| Ball | O-rings, Cam, and Ball | Adjustable wrench, Ball-type faucet tool |
By following these steps, you can quickly fix a dripping faucet and enjoy the benefits of reduced water waste and lower utility bills. Regular maintenance can also help prevent future leaks and prolong the lifespan of your faucet.
Dealing with Clogged Drains Quickly
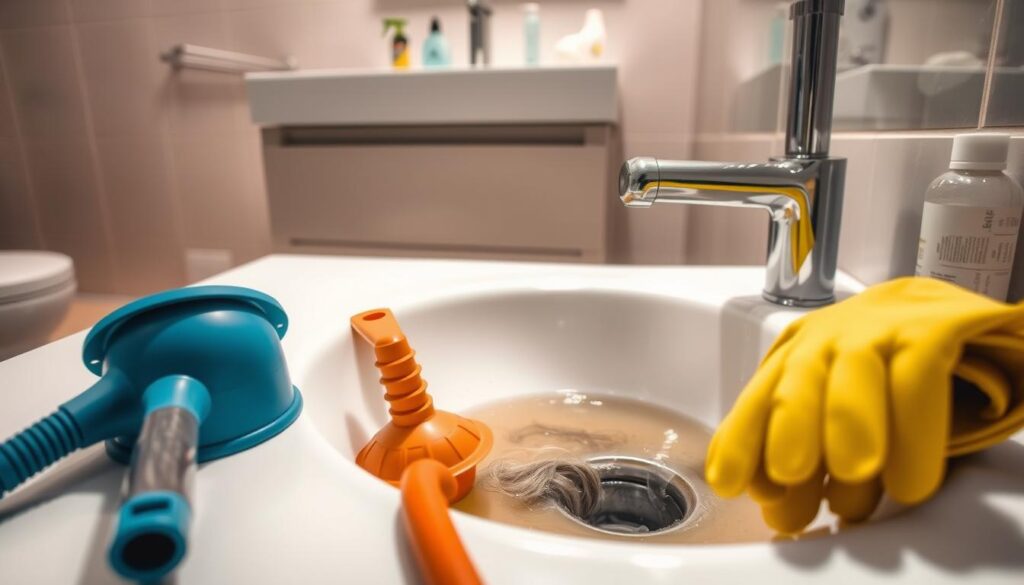
Clogged drains are a nuisance, but understanding how to tackle them can save you time and money. Whether it’s a kitchen sink, bathroom sink, or shower drain, clogs can cause significant disruptions to your daily routine.
Kitchen Sink: Quick Solutions
For kitchen sinks, clogs are often caused by grease, food particles, and other debris. A quick solution involves using a plunger or a drain snake to remove the blockage. For tougher clogs, a mixture of baking soda and vinegar can be effective.
Step-by-Step Guide: First, remove any visible debris from the sink drain. Next, pour 1 cup of baking soda down the drain, followed by 1 cup of vinegar. Let the mixture sit for a few hours or overnight before rinsing with hot water.
Bathroom Sink: Step-by-Step Guide
Bathroom sink clogs are typically caused by hair and soap scum. To clear these clogs, start by removing the sink drain cover and cleaning out any visible hair or debris.
- Use a plunger to create suction and loosen the clog.
- If the clog persists, use a drain snake to remove the blockage.
- For a more natural approach, use baking soda and vinegar as described for kitchen sinks.
Preventive Measures for Clogs
Preventing clogs is often easier than clearing them. Regular maintenance can significantly reduce the occurrence of clogs in your drains.
| Preventive Measure | Description | Frequency |
|---|---|---|
| Baking Soda and Vinegar | Pour 1 cup of baking soda followed by 1 cup of vinegar down the drain. Let it sit before rinsing with hot water. | Monthly |
| Drain Screens | Use drain screens to catch hair and other debris before they go down the drain. | Regularly clean |
| Hot Water | Pour hot water down the drain to help dissolve grease and other substances. | Weekly |
By implementing these preventive measures and knowing how to quickly deal with clogs, you can keep your drains flowing smoothly and avoid the hassle of major plumbing issues.
Fixing a Running Toilet: Step-by-Step Guide
A running toilet not only wastes water but also signals that something is amiss with your toilet’s mechanism. Fixing this issue is crucial for hassle-free plumbing repairs at home and can be achieved with a few simple steps.
Understanding the Toilet Mechanism
Before diving into the fixes, it’s essential to understand how a toilet works. The toilet tank is where the magic happens, with components like the fill valve, flapper, and overflow tube working together to refill and flush the toilet. Familiarizing yourself with these parts can help you identify the source of the problem.
Common Causes of a Running Toilet
A running toilet is often caused by issues with the flapper or fill valve. If the flapper doesn’t seal properly, water will continue to flow into the toilet bowl. Similarly, if the fill valve is faulty, it might not shut off correctly, leading to continuous running. Other causes include a clogged overflow tube or improper water level settings.
Quick Fixes to Stop the Noise
To fix a running toilet, start by checking the flapper and ensuring it seals correctly. If necessary, replace it. Adjusting the fill valve or the water level in the tank can also resolve the issue. For more complex problems, consider consulting resources like BHG’s guide on fixing a running for detailed instructions. By taking these steps, you can achieve affordable plumbing repairs for homeowners without calling a professional.
By understanding the toilet mechanism, identifying common causes, and applying quick fixes, you can stop the annoyance of a running toilet and enjoy a more efficient plumbing system.
Simple Solutions for Leaky Pipes
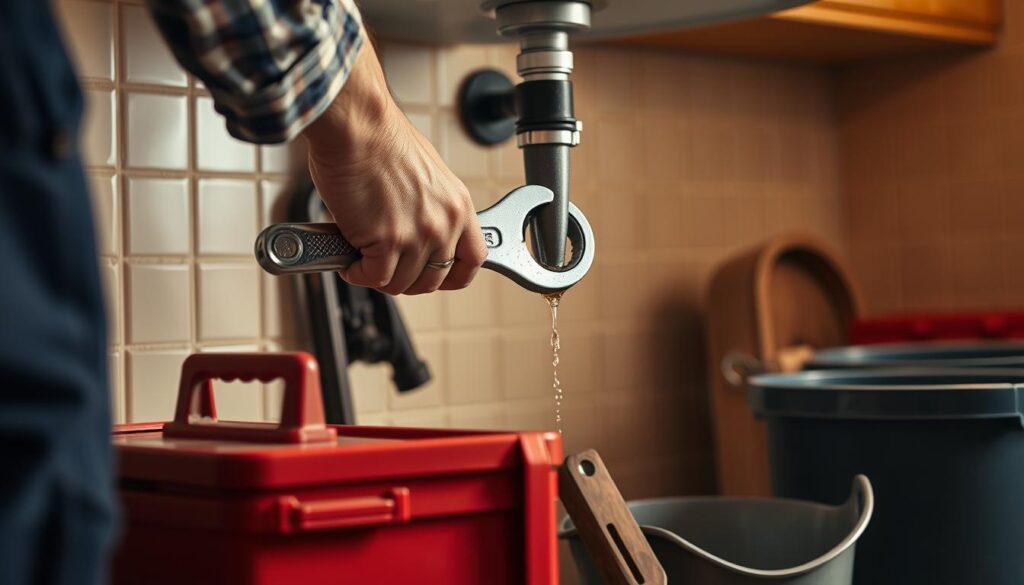
Fixing leaky pipes is a DIY task that can save you money and prevent water damage. Leaky pipes can lead to significant issues if not addressed promptly, including mold growth and structural damage to your home.
Pinpointing the Leak Location
The first step in fixing a leaky pipe is to locate the source of the leak. Check your pipes regularly for signs of moisture, water droplets, or mineral deposits. You can also look for discoloration or warping of walls and ceilings, which can indicate a hidden leak.
Temporary Fixes Using Tape
For a quick fix, you can use pipe repair tape or epoxy putty to seal the leak temporarily. Pipe repair tape is a simple and effective solution that can be applied directly to the affected area. However, keep in mind that this is only a temporary solution, and you should plan for a more permanent repair as soon as possible.
To apply pipe repair tape, wrap it around the pipe, overlapping the tape as you go to ensure a tight seal. For more information on DIY pipe leak repairs, you can refer to our comprehensive guide on DIY Pipe Leak Repair.
Permanent Repair Options for Leaks
For a more permanent solution, you may need to replace the damaged section of pipe or tighten loose fittings. Replacing a section of pipe involves cutting out the damaged area and replacing it with a new piece, using couplings to secure it in place. This can be a bit more involved but provides a long-term fix.
It’s also essential to identify and address the underlying cause of the leak to prevent future issues. Regular maintenance and inspections can help you catch potential problems before they become major repairs.
Repairing or Replacing a Showerhead
Repairing or replacing a showerhead is a simple household plumbing solution that can greatly enhance your showering experience. A faulty showerhead can lead to issues such as low water pressure or leaks, which not only waste water but also increase your utility bills.
Identifying the Issue: Low Pressure or Leaks
The first step in addressing showerhead issues is to identify the problem. Common issues include low water pressure and leaks. To diagnose the issue:
- Check the water pressure by turning on the shower and assessing the flow.
- Inspect the showerhead for mineral buildup or debris clogging the nozzles.
- Look for signs of leaks around the showerhead connection to the shower arm.
Tools and Materials Needed for Replacement
Once you’ve identified the issue, gather the necessary tools and materials for the replacement:
- Adjustable wrench or basin wrench for removing the old showerhead.
- New showerhead that matches your plumbing configuration (e.g., threaded or clamped).
- Teflon tape for creating a watertight seal on threaded connections.
- Soft cloth for cleaning the shower arm threads.
Step-by-Step Guide to Installing a New Showerhead
Installing a new showerhead is a straightforward process:
- Turn off the water supply to the shower.
- Remove the old showerhead using an adjustable wrench.
- Clean the threads on the shower arm with a soft cloth.
- Apply Teflon tape to the threads to ensure a watertight seal.
- Screw on the new showerhead by hand, then tighten it with the wrench.
- Turn on the water supply and check for leaks.
By following these steps, you can easily repair or replace your showerhead, ensuring a satisfying shower experience while conserving water and reducing your utility bills.
How to Clear a Clogged Toilet Without a Plumber
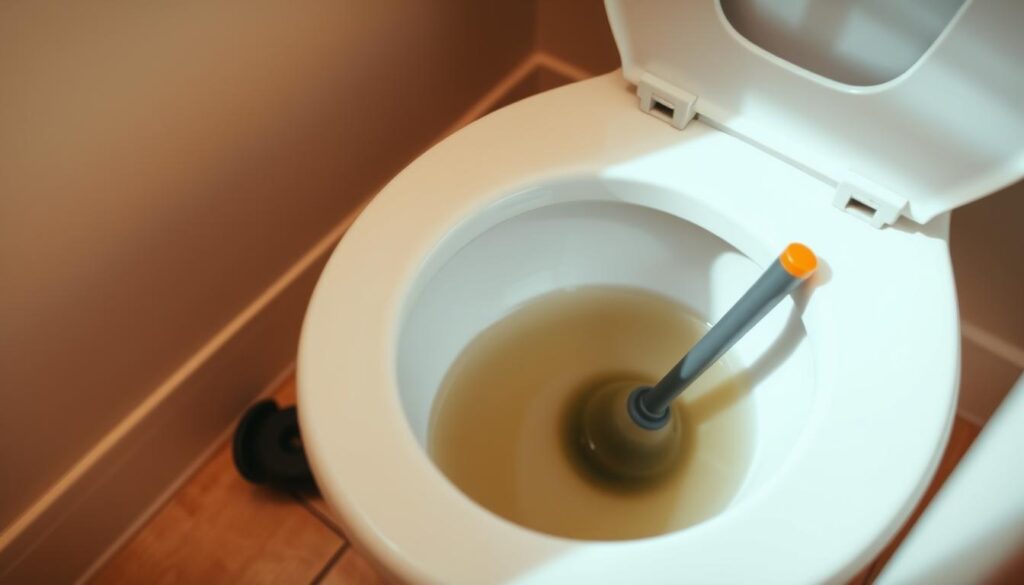
A clogged toilet is a common household issue that can be resolved with the right tools and techniques. It’s a problem that can cause significant inconvenience, but fortunately, there are several methods to clear the clog without calling a professional plumber.
Using a Plunger: Tips for Effectiveness
The first step in clearing a clogged toilet is often using a plunger. To do this effectively, ensure the plunger is properly seated over the clogged drain, and then push down slowly and steadily until you feel resistance. Repeat this process several times to help loosen the clog.
For a plunger to work effectively, it’s crucial to create a good seal around the drain. You can enhance this seal by applying a small amount of petroleum jelly to the rim of the plunger. This simple trick can significantly improve the plunger’s effectiveness.
Other Tools: Toilet Augers and Alternatives
If plunging doesn’t work, the next tool to try is a toilet auger. A toilet auger is a flexible rod that can be inserted into the toilet drain to break up or retrieve the clog. To use it, feed the auger into the drain until you feel resistance, then rotate the handle to break up the clog.
For those without a toilet auger, there are alternative methods. For example, you can try using a drain snake or a wire coat hanger to remove the clog. However, be cautious with these alternatives, as they can potentially scratch the toilet bowl.
Preventing Future Clogs: Best Practices
Preventing future clogs involves being mindful of what you flush down the toilet. Avoid flushing items like sanitary products, wet wipes, and large amounts of toilet paper, as these are common causes of clogs. Regularly cleaning your toilet and checking for any signs of blockages can also help prevent clogs.
For more detailed guidance on unclogging a toilet, you can visit Caccia Plumbing’s blog for additional tips and tricks. In cases where you need emergency plumbing services, consider reaching out to an emergency contractor for professional assistance.
| Tool | Effectiveness | Ease of Use |
|---|---|---|
| Plunger | High | Easy |
| Toilet Auger | Very High | Moderate |
| Drain Snake | High | Moderate |
“The key to avoiding clogs is being mindful of what you flush. Simple changes in your daily habits can make a significant difference in maintaining a free-flowing toilet.”
Understanding and Managing Water Pressure
Understanding water pressure is essential for identifying potential plumbing problems. Water pressure that is too high or too low can lead to various issues within a home’s plumbing system.
Signs of High or Low Water Pressure
Recognizing the signs of abnormal water pressure is the first step in managing it. High water pressure can cause leaks, damage appliances, and lead to pipe bursts. On the other hand, low water pressure can result in poor water flow, making everyday tasks like showering or washing dishes frustrating.
- Signs of high water pressure include noisy pipes, leaking faucets, and appliance damage.
- Signs of low water pressure include weak water flow from faucets and showerheads.
How to Measure Water Pressure at Home
Measuring water pressure at home can be done using a pressure gauge. This tool can be attached to an outdoor faucet or any other suitable outlet. For accurate readings, it’s advisable to measure the pressure at different times of the day.
- Purchase a pressure gauge from a hardware store or home improvement store.
- Attach the gauge to an outdoor faucet or a suitable outlet.
- Take readings at different times to account for variations in water usage.
For more detailed information on measuring and managing water pressure, you can visit 1st Choice Plumbing, Heating, and Air for professional tips and guidance.
Quick Fixes for Water Pressure Issues
If you’re experiencing water pressure issues, there are several quick fixes you can try. For low water pressure, cleaning or replacing clogged aerators and checking for leaks can improve flow. For high water pressure, installing a pressure-reducing valve can help stabilize the system.
- For low pressure: Clean or replace aerators, check for leaks, and consider installing a water pressure booster pump.
- For high pressure: Install a pressure-reducing valve to regulate the pressure.
DIY Pipe Insulation: Protecting Your Pipes
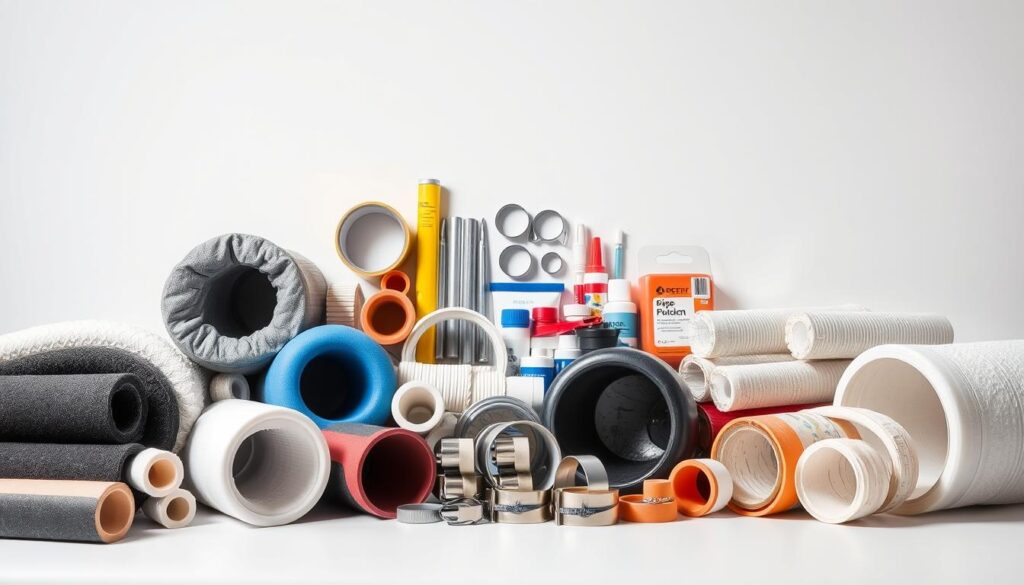
Protecting your pipes from freezing temperatures is crucial, and one effective way to do this is through DIY pipe insulation. As a homeowner, taking proactive steps to insulate your pipes can save you from the potential headaches and expenses associated with frozen or burst pipes.
Why Pipe Insulation Matters
Pipe insulation is vital for maintaining the integrity of your home’s plumbing system. Freezing temperatures can cause water inside the pipes to expand, leading to cracks or bursts. By insulating your pipes, you can prevent such damages and ensure a steady supply of water throughout the cold weather.
According to experts, “Insulating pipes is a simple and cost-effective way to protect your home from the risks associated with freezing temperatures”
“Pipe insulation is not just about saving energy; it’s also about preventing the costly repairs that come with pipe damage,” says a plumbing expert.
Materials Needed for Insulation
To insulate your pipes effectively, you’ll need the right materials. Foam pipe insulation is one of the most commonly used materials due to its ease of installation and effectiveness. Other materials include fiberglass and rubber insulation. Ensure you choose materials that are suitable for the pipes’ location and the local climate.
Step-by-Step Insulation Guide
Insulating your pipes is a relatively straightforward process. Here’s a step-by-step guide:
- Identify the pipes that need insulation, typically those in unheated areas like the garage, basement, or crawlspace.
- Measure the length and diameter of the pipes to determine how much insulation material you’ll need.
- Cut the insulation material to the appropriate length, ensuring it fits snugly around the pipes.
- Secure the insulation in place using tape or the manufacturer’s recommended fastening method.
By following these steps, you can effectively insulate your pipes and protect them from freezing temperatures.
The Importance of Regular Plumbing Maintenance
The key to a stress-free plumbing experience lies in regular maintenance checks and inspections. By staying on top of your home’s plumbing system, you can prevent many common issues that lead to costly repairs and disruptions.
Schedule and Frequency of Checks
To maintain your plumbing system effectively, it’s essential to establish a regular inspection schedule. The frequency of these checks can depend on the age of your home and its plumbing system. For older homes, more frequent inspections are recommended.
Typically, a thorough inspection should be conducted at least once a year. This can help identify potential issues before they become major problems. For instance, checking for leaks under sinks and around toilets can prevent water damage.
Key Areas to Inspect Regularly
Several areas of your home’s plumbing system require regular inspection to ensure they are functioning correctly. These include:
- Drain lines and pipes for signs of leaks or corrosion
- Water heaters for efficiency and leaks
- Toilets for proper flushing and signs of leaks
- Faucets and fixtures for leaks or mineral buildup
| Inspection Area | Frequency | Common Issues |
|---|---|---|
| Drain Lines | Every 6 months | Clogs, Leaks |
| Water Heaters | Annually | Leaks, Inefficiency |
| Toilets | Every 6 months | Leaks, Poor Flushing |
Benefits of Maintenance for Homeowners
Regular plumbing maintenance offers numerous benefits for homeowners, including cost savings, reduced stress, and extended system lifespan. By identifying and addressing issues early, you can avoid the expense of major repairs. For more information on maintaining your plumbing system, visit The Goat Plumbing Company.
Moreover, a well-maintained plumbing system contributes to a safer and healthier home environment by reducing the risk of water damage and mold growth.
When to Call a Professional Plumber
Recognizing the signs that indicate the need for a professional plumber can prevent further damage to your home. While many plumbing issues can be resolved with DIY repairs, some problems require the expertise of a professional.
Signs You Need Professional Help
There are several signs that indicate you need to call a professional plumber. These include:
- Persistent leaks that won’t stop
- Low water pressure throughout the house
- Clogged drains that DIY methods can’t clear
- Visible signs of water damage or mold
If you’re experiencing any of these issues, it’s time to seek professional help. For more information on when to call a professional, you can visit Potter HVAC’s guide on DIY vs. professional plumbing.
Understanding Simple vs. Complex Repairs
Not all plumbing repairs are created equal. Simple repairs, such as fixing a leaky faucet, can often be handled by homeowners. However, complex repairs like fixing a burst pipe or installing a new water heater require professional expertise.
Simple Repairs typically involve:
- Replacing worn-out washers or O-rings
- Clearing minor clogs
Complex Repairs involve:
- Replacing entire plumbing fixtures
- Dealing with frozen or burst pipes
Cost Considerations for Hiring a Plumber
One of the main concerns for homeowners is the cost of hiring a professional plumber. While it may seem like an added expense, professional plumbers can actually save you money in the long run by preventing further damage.
| Service | Average Cost |
|---|---|
| Emergency Plumbing Repair | $150-$300 |
| Routine Maintenance Check | $100-$200 |
| Installing a New Water Heater | $500-$1,000 |
Understanding these costs can help you make informed decisions about your plumbing needs.
Resources and Further Reading on Plumbing
For homeowners seeking to expand their knowledge on plumbing repairs and maintenance, several resources are available. Whether you’re looking for quick fixes for common plumbing issues or simple household plumbing solutions, these resources can provide valuable guidance.
Online Resources for DIY Plumbing
Websites like The Family Handyman and This Old House offer a wealth of information on DIY plumbing projects, including tutorials and videos. These sites are great for finding step-by-step guides on tackling various plumbing tasks.
Recommended Books for Homeowners
For those who prefer learning from books, titles like “The Homeowner’s Plumbing Handbook” can be very helpful. These books cover a range of topics, from basic plumbing repairs to more complex projects.
Local Workshops and Classes
Many local hardware stores and community centers offer workshops and classes on plumbing and home repair. These hands-on sessions can be a great way to gain practical experience and confidence in your plumbing skills.
