As a homeowner, being familiar with DIY plumbing fixes can be a significant cost-saver. Imagine dealing with a leaky faucet or a clogged drain without having to immediately call a professional plumber. Understanding how to address these common issues can not only save you money but also give you a sense of accomplishment and independence in maintaining your home.
According to experts from Watters Plumbing, regular plumbing maintenance can catch small issues before they turn into costly repairs. Moreover, professionals at World Civil Society emphasize the importance of understanding residential plumbing systems for basic plumbing repairs. By knowing how to fix common problems, homeowners can ensure their plumbing system operates efficiently.
Key Takeaways
- Regular plumbing maintenance can prevent costly repairs.
- Understanding DIY plumbing fixes can save homeowners money.
- Common issues like leaky faucets and clogged drains can often be resolved independently.
- Knowledge of residential plumbing systems is crucial for basic repairs.
- Proper maintenance ensures the efficient operation of a home’s plumbing system.
Understanding Common Plumbing Issues
Identifying and addressing plumbing problems early on can save homeowners from dealing with more severe issues down the line. Common plumbing issues include leaky faucets, clogged drains, and low water pressure, which can disrupt daily life and lead to costly repairs if not addressed promptly.
Identifying Leaks in Your Home
Leaks can occur in various parts of a home’s plumbing system, including faucets, toilets, and pipes under sinks or near water heaters. To identify leaks, look for signs such as water droplets, warped flooring, or increased water bills. Using a water meter test can also help detect hidden leaks by monitoring the meter for movement when no water is being used.
For more information on tools that can aid in DIY plumbing projects, including leak detection, visit our guide on top plumbing tools and pipes for DIY.
Signs of Clogged Drains
Clogged drains are another common plumbing issue that can cause inconvenience and damage. Signs of a clogged drain include slow draining water, gurgling sounds from the drain, and unpleasant odors emanating from the sink or toilet. Hair, soap scum, and grease are common culprits that can cause clogs, and using a drain screen can help prevent these issues.
| Signs of Clogged Drains | Possible Causes | Prevention Tips |
|---|---|---|
| Slow draining water | Hair and soap scum buildup | Use a drain screen |
| Gurgling sounds | Grease and oil accumulation | Avoid pouring grease down drains |
| Unpleasant odors | Food particles and debris | Regularly clean drains |
Recognizing Water Pressure Problems
Water pressure issues, whether too high or too low, can affect the performance of plumbing fixtures and appliances. Low water pressure might result from clogged aerators, mineral buildup in pipes, or issues with the municipal water supply. High water pressure can strain pipes and fixtures, potentially leading to leaks or bursts.
Checking water pressure regularly and maintaining it within the recommended range can help prevent these problems. Homeowners can use a pressure gauge to measure water pressure and identify if it’s within a safe range.
Essential Plumbing Tools Every Homeowner Should Have
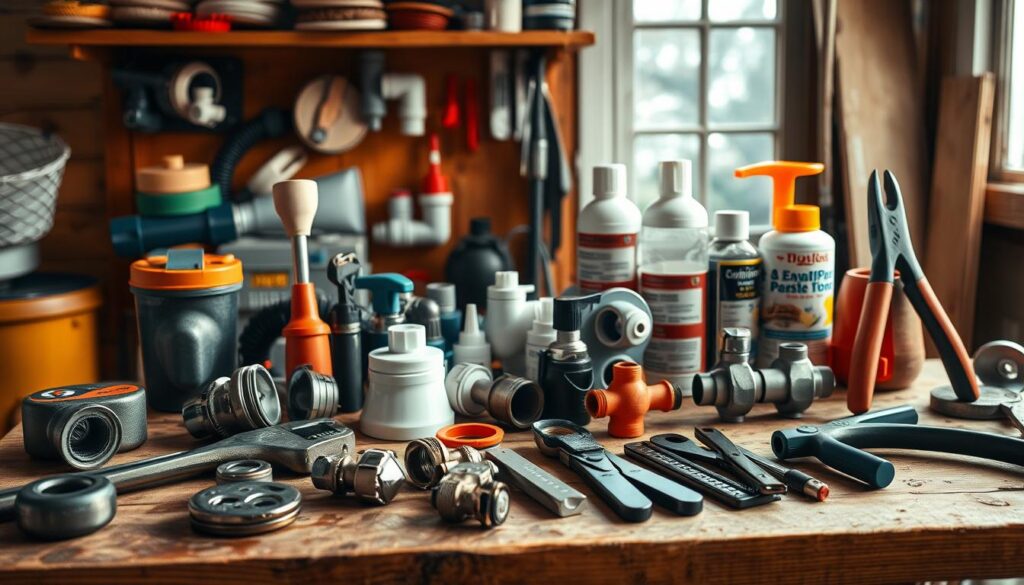
Every homeowner should have a set of basic plumbing tools to handle routine repairs and maintenance. Having the right tools can make a significant difference in addressing common plumbing issues efficiently.
Basic Hand Tools for Plumbing
Basic hand tools are the foundation of any homeowner’s plumbing toolkit. These include adjustable wrenches, pliers, and screwdrivers, which are essential for tasks like tightening loose connections and gripping small objects.
For instance, an adjustable wrench can be used to tighten or loosen fittings and pipes, while pliers are handy for gripping and bending objects. A set of screwdrivers, both flathead and Phillips, will help with tasks that require adjusting or removing screws.
Specialized Equipment for Home Repairs
Beyond basic hand tools, having some specialized equipment can be beneficial for more complex plumbing tasks. A plunger is a must-have for dealing with clogged drains and toilets, while a pipe snake (or auger) can help clear more stubborn blockages.
For quick plumbing solutions for homeowners, it’s also useful to have a Teflon tape for creating watertight seals on threaded pipe connections.
Maintenance Tools for Long-term Care
Regular maintenance is key to preventing major plumbing issues. Tools like a water pressure gauge can help monitor water pressure, and a drain screen can catch hair and other debris before they clog drains.
By having these tools on hand, homeowners can perform easy plumbing repairs for beginners, ensuring their plumbing system remains in good condition.
How to Fix a Leaky Faucet
Repairing a leaky faucet is a DIY-friendly task that requires some basic knowledge. A leaky faucet can waste a significant amount of water, leading to increased utility bills and potential water damage. By understanding the cause of the leak and following a straightforward repair process, homeowners can resolve this common issue efficiently.
Materials Needed for a Faucet Repair
Before starting the repair, it’s essential to gather the necessary materials. The type of faucet you have (e.g., cartridge, ball-and-socket, or ceramic disc) will determine the specific parts you’ll need. Generally, you’ll require:
- Replacement parts (e.g., O-rings, gaskets, or cartridges)
- Adjustable wrench or basin wrench
- Channel-type pliers (for removing old parts)
- Teflon tape
- Plumber’s grease
For a more detailed list, consult the manufacturer’s instructions or a reliable plumbing resource.
| Faucet Type | Common Leaky Parts | Tools Needed |
|---|---|---|
| Cartridge Faucet | O-rings, Cartridge | Adjustable wrench, Channel-type pliers |
| Ball-and-Socket Faucet | O-rings, Gaskets | Allen wrench, Channel-type pliers |
| Ceramic Disc Faucet | O-rings, Ceramic Disc | Adjustable wrench, Teflon tape |
Step-by-Step Repair Process
Once you have the necessary materials, follow these steps to repair your leaky faucet:
- Turn off the water supply to the faucet by locating the shut-off valves under the sink and turning them clockwise.
- Disassemble the faucet to identify the source of the leak. This may involve removing the handle or knob.
- Inspect the faucet’s internal parts for signs of wear or damage. Replace any worn-out parts with new ones.
- Reassemble the faucet in the reverse order that you disassembled it. Apply plumber’s grease to O-rings and gaskets as needed.
- Turn on the water supply and check the faucet for leaks.
“A leaky faucet is not just a minor annoyance; it’s a call to action for homeowners to address a potentially significant issue. By taking the time to repair a leaky faucet, you can save water, reduce your utility bills, and prevent more extensive damage down the line.”
Preventing Future Leaks
To minimize the likelihood of future leaks, consider the following tips:
- Regularly inspect your faucets for signs of wear.
- Maintain your faucets by cleaning or replacing aerators.
- Be mindful of water pressure; high pressure can lead to faucet damage.
- Consider installing a water filter to reduce sediment that can cause wear on faucet parts.
By following these guidelines, homeowners can effectively fix a leaky faucet and take steps to prevent future issues, ensuring their plumbing system operates efficiently and effectively.
Dealing with Clogged Drains
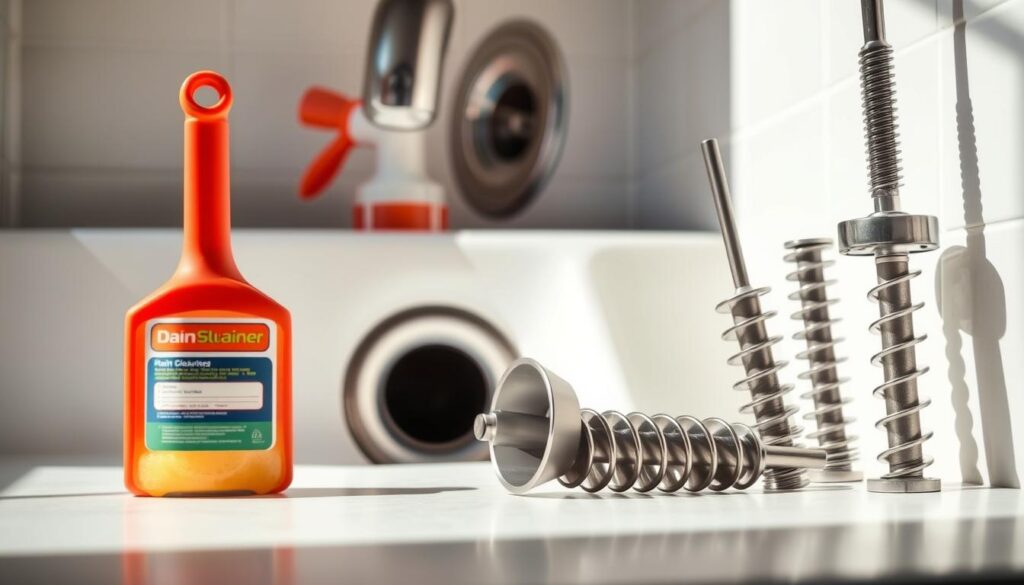
Dealing with clogged drains is a common challenge that requires understanding its causes and solutions. Clogged drains can lead to significant disruptions in daily life, causing inconvenience and potential water damage.
Common Causes of Drain Blockages
Understanding the causes of clogged drains is the first step towards resolving the issue. Common culprits include hair accumulation, grease buildup, and soap scum. These elements can combine to form tough blockages that are difficult to clear without the right tools and techniques.
Tools and Techniques for Clearing Drains
Several tools and techniques can be employed to clear clogged drains. For simple clogs, a plunger or drain snake can be effective. For more stubborn blockages, chemical drain cleaners or natural alternatives like baking soda and vinegar can be used.
For a comprehensive guide on fixing clogged drains, you can refer to our detailed resource available here, which provides step-by-step instructions and preventive measures.
| Tool/Technique | Usage | Effectiveness |
|---|---|---|
| Plunger | Creates suction to remove blockages | High for simple clogs |
| Drain Snake | Physically removes or breaks up clogs | High for most clogs |
| Chemical Drain Cleaners | Dissolves blockages | Variable; can be corrosive |
| Baking Soda and Vinegar | Natural method to dissolve blockages | Moderate; eco-friendly |
When to Call a Professional
While many clogged drains can be resolved with DIY methods, there are situations where professional help is necessary. If you’ve tried multiple clearing methods without success, or if you suspect a more significant issue like a sewer line blockage, it’s time to call a professional plumber.
Recognizing the limits of your ability to fix plumbing issues is crucial. If you’re unsure about the severity of the clog or the appropriate method to clear it, consulting a professional can prevent further damage and ensure the issue is resolved effectively.
Repairing Running Toilets
Repairing a running toilet is a simple yet effective way to conserve water. A running toilet can waste a significant amount of water, increasing your utility bills and impacting the environment.
Identifying the Cause
The most common causes of a running toilet include a faulty flapper, an improperly adjusted or malfunctioning fill valve, or issues with the overflow tube. To identify the cause, start by inspecting the toilet’s tank. Check if the water level is too high, causing water to flow into the overflow tube. Listen for the sound of running water to help locate the source of the issue.
Step-by-Step Repair Guide
Once you’ve identified the cause, you can proceed with the repair. Here’s a step-by-step guide:
- Turn off the water supply to the toilet by locating the shut-off valve behind the toilet and turning it clockwise.
- If the issue is with the flapper, inspect it for any signs of wear or misalignment. Replace it if necessary.
- Adjust the fill valve to ensure it’s not stuck or clogged. Some fill valves have an adjustment screw that allows you to change the water level.
- If the problem persists, consider replacing the fill valve or consulting a professional.
| Part | Common Issues | Fix |
|---|---|---|
| Flapper | Wear, misalignment | Replace |
| Fill Valve | Stuck, clogged | Adjust or replace |
| Overflow Tube | Too high water level | Adjust water level |
Preventing Future Issues
To prevent future issues with your toilet, regular maintenance is key. Check the toilet’s components periodically for signs of wear. Ensure the flapper seals properly and adjust the fill valve as needed. Additionally, be mindful of what you flush down the toilet to avoid clogs and other issues.
“A well-maintained toilet is not just a matter of convenience; it’s also a significant step towards water conservation.” – Plumbing Expert
By following these steps and tips, you can effectively repair a running toilet and contribute to water conservation efforts. Regular DIY plumbing fixes like this not only save you money but also help in reducing your household’s environmental footprint.
Changing a Showerhead
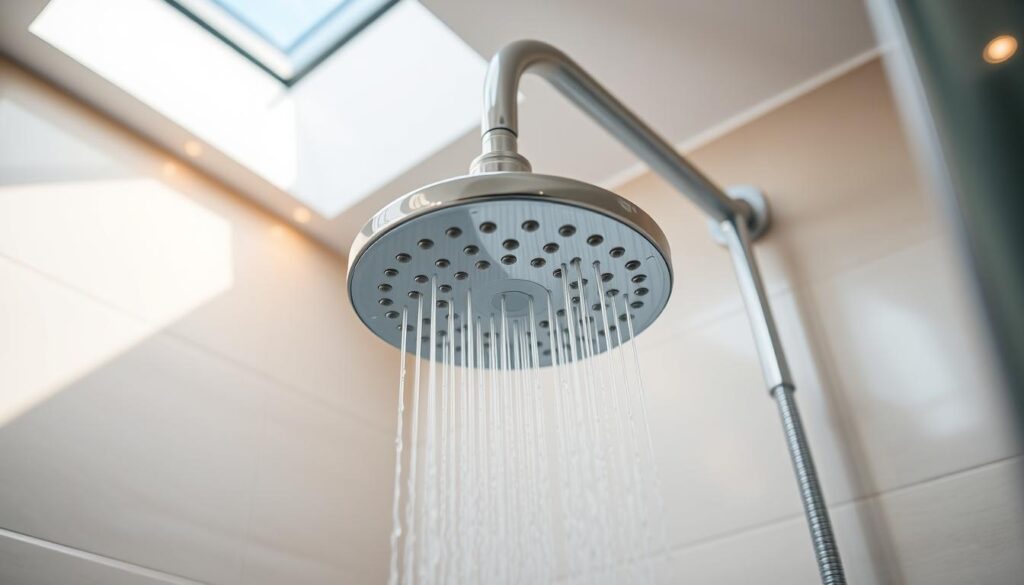
Enhance your shower experience by installing a new showerhead. Changing a showerhead is a simple task that can make a significant difference in your daily routine. It involves selecting the right showerhead, having the necessary tools, and following the installation steps.
Choosing the Right Showerhead
When it comes to choosing a showerhead, there are several factors to consider. You can opt for a showerhead that is designed for water conservation, or one that provides a luxurious spa-like experience. Consider the type of showerhead that suits your needs, such as a rainfall showerhead or a handheld showerhead. For more information on different types of showerheads, you can visit Home Depot’s guide on changing a.
Tools Required for Replacement
To replace your showerhead, you will need a few basic tools. These include an adjustable wrench or basin wrench to loosen the old showerhead, and Teflon tape to create a watertight seal on the new showerhead. Having the right tools on hand will make the replacement process smoother and more efficient.
Installation Steps
To install your new showerhead, start by turning off the water supply to your shower. Use your adjustable wrench to loosen and remove the old showerhead. Clean the threads on the shower arm and apply Teflon tape to create a watertight seal. Then, screw on the new showerhead and tighten it securely. For emergency plumbing situations, it’s good to know that services like emergency contractor services are available if you encounter any issues.
By following these steps, you can easily change your showerhead and enjoy a better shower experience. Regularly maintaining your showerhead is part of essential plumbing maintenance tips that can help prevent common plumbing problems at home.
Fixing a Dripping Hose Bib
Understanding how to repair a dripping hose bib is an essential skill for homeowners looking to save water and money. A dripping hose bib can waste a significant amount of water, leading to increased utility bills and potential damage to your home’s exterior.
Common Reasons for Hose Bib Leaks
Hose bib leaks often occur due to worn-out or damaged parts. Common causes include:
- Faulty or corroded valve seats
- Deteriorated O-rings or gaskets
- Loose or damaged packing nuts
Identifying the source of the leak is crucial for effective repair. For more detailed guidance, you can refer to resources like this guide on fixing hose bib.
Repair Procedure for Hose Bibs
To fix a dripping hose bib, follow these steps:
- Turn off the water supply to the hose bib.
- Disassemble the hose bib to identify the source of the leak.
- Replace any damaged or worn-out parts, such as O-rings or valve seats.
- Reassemble the hose bib and turn on the water supply to test for leaks.
Tip: Regular maintenance can help prevent leaks and prolong the lifespan of your hose bib.
Preventive Measures for Winter
Winterizing your hose bib is crucial to prevent freezing and bursting. Here are some preventive measures:
- Drain the water from the hose bib before winter.
- Insulate exposed hose bibs or use frost-proof models.
- Disconnect and store hoses to prevent damage.
By taking these steps, you can protect your hose bib from damage and ensure it functions properly when needed.
Unclogging a Toilet
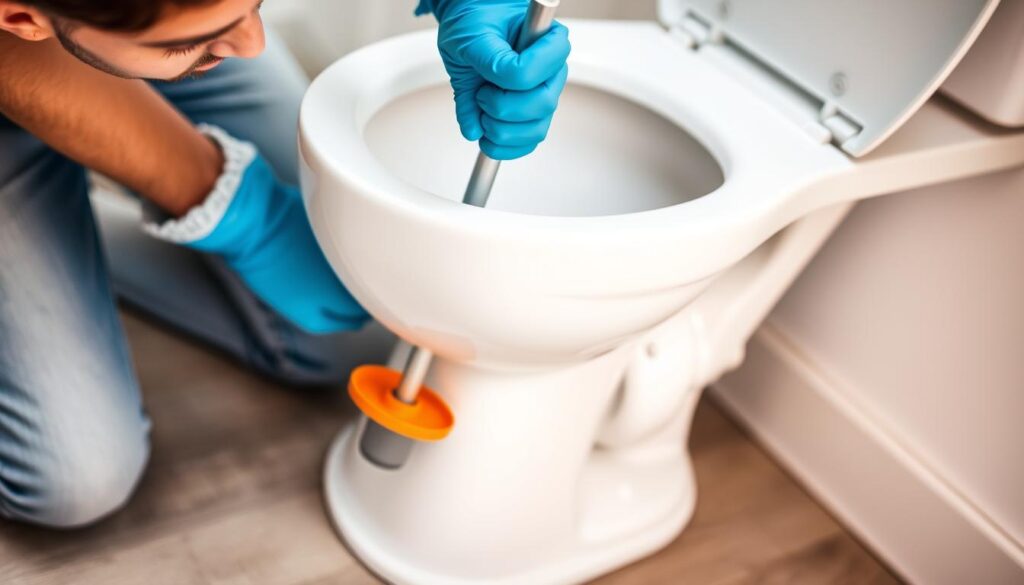
A clogged toilet is not just an inconvenience; it’s a plumbing issue that requires immediate attention. Unclogging a toilet can be a challenging task, but with the right techniques and tools, it’s a problem that can be resolved efficiently.
Plunge Techniques for Effective Unclogging
The most common method for unclogging a toilet is plunging. To do this effectively, ensure the plunger is properly seated over the clogged drain hole. Push down slowly and steadily until you feel resistance, then pull up sharply. This creates suction that can help dislodge the clog. Repeat this process several times until the toilet drains freely.
Alternatives to Plunging
If plunging doesn’t work, there are alternative methods to try. One approach is to use a toilet auger, also known as a closet auger. This tool allows you to reach deeper into the toilet drain to break up or retrieve the clog. Another option is to use a chemical drain cleaner, but be cautious as these can damage toilet bowls or pipes if not used correctly.
When to Seek Professional Help
If you’ve tried plunging and other alternatives without success, it may be time to call a professional plumber. Persistent clogs can indicate a more serious issue within your plumbing system, such as a blockage further down the line or a problem with your sewer line. A professional can diagnose the issue and provide a solution to prevent future clogs.
Repairing Minor Pipe Leaks
Addressing minor pipe leaks is crucial for maintaining a safe and efficient plumbing system. Minor leaks can lead to significant water damage and increased utility bills if left unattended.
Identifying Pipe Leak Locations
The first step in repairing minor pipe leaks is identifying their locations. Homeowners can look for signs such as water spots, warped flooring, or a sudden increase in water bills. It’s also helpful to inspect areas around pipes, especially under sinks and around water heaters.
Using a flashlight to inspect dark or hard-to-reach areas can help in detecting leaks early. For more complex systems, listening for the sound of dripping water can also indicate a leak.
Temporary Fixes Using Tape
For a quick fix, using tape can be an effective temporary solution. Plumber’s tape or Teflon tape can be wrapped around the leaking area to seal it temporarily. This method is particularly useful for leaks in threaded pipe connections.
To apply, simply wrap the tape around the threaded area in a clockwise direction before reassembling the pipe. This will help create a tighter seal and reduce leakage until a more permanent fix can be applied.
Permanent Repair Solutions
While temporary fixes can provide immediate relief, permanent repairs are necessary to ensure long-term integrity of the plumbing system. For minor leaks, replacing the damaged section of pipe or tightening loose connections may be sufficient.
For more significant damage, using a pipe repair clamp or epoxy putty can provide a durable solution. It’s essential to turn off the water supply before starting any repair work. For complex or hard-to-reach leaks, it may be wise to consult a professional plumber.
To learn more about basic plumbing repairs, you can visit https://hi-spec.com/blogs/news/basic-plumbing-repairs-every-homeowner-should-know for additional resources and guidance.
Understanding Water Heater Issues
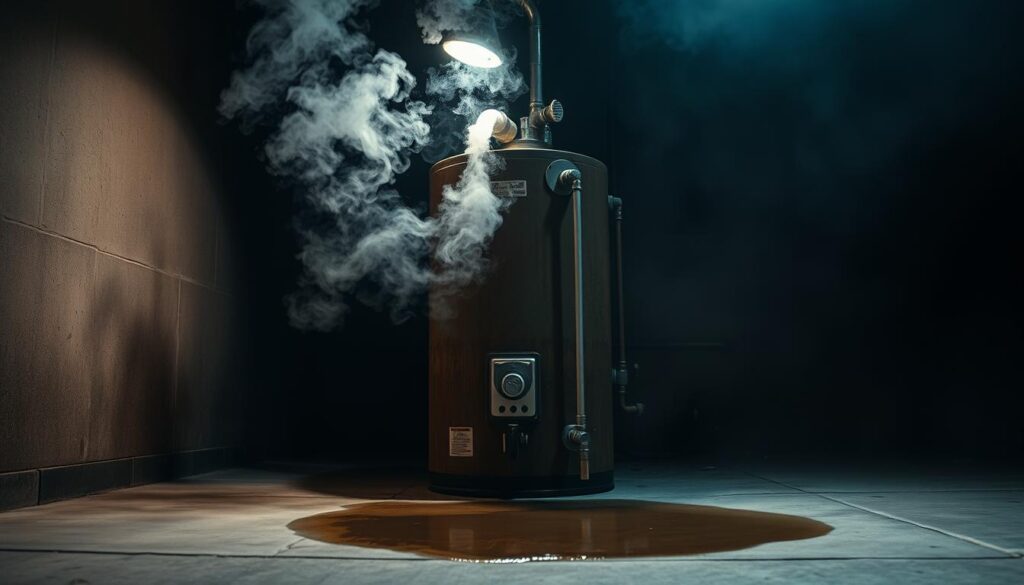
A malfunctioning water heater can disrupt daily routines, making it essential to identify and fix issues promptly. Water heaters are a crucial component of home plumbing, providing hot water for various household needs.
Identifying Common Problems
Common issues with water heaters include a lack of hot water, leaks, and unusual noises. Identifying the root cause of these problems is crucial for effective repairs. For instance, a lack of hot water could be due to a faulty thermostat or a malfunctioning heating element.
Leaks are another common issue, often resulting from corrosion or loose connections. It’s essential to inspect the water heater regularly for signs of leakage to prevent further damage.
Basic Troubleshooting Steps
Before calling a professional, homeowners can perform some basic troubleshooting steps. Checking the power supply, inspecting the temperature and pressure relief valve, and ensuring proper ventilation are some initial measures.
“Regular maintenance can significantly reduce the likelihood of water heater issues,” says a plumbing expert. Simple actions like flushing the tank annually can help maintain the water heater’s efficiency.
When to Call a Technician
While DIY troubleshooting can resolve some issues, complex problems require professional intervention. Signs that indicate the need for a technician include persistent leaks, significant noise, or a complete failure to heat water.
According to a plumbing specialist,
“Calling a professional at the right time can prevent minor issues from becoming major repairs.”
Thus, understanding when to seek help is crucial for maintaining the water heater’s longevity.
Addressing Low Water Pressure
Understanding and addressing low water pressure is crucial for maintaining a comfortable living environment. Low water pressure can be a significant issue, affecting various aspects of daily life, from showering to household chores.
Common Causes of Low Water Pressure
Low water pressure can stem from several factors, including mineral buildup, leaks, and issues with the municipal water supply. Mineral buildup is a common cause, as minerals like calcium and magnesium can accumulate inside pipes, reducing water flow.
Leaks are another significant factor, as they can divert water, leading to decreased pressure. It’s essential to inspect your plumbing system regularly to identify and fix leaks promptly.
Quick Fixes for Low Pressure Issues
Addressing low water pressure often involves simple fixes. Checking and cleaning aerators on faucets can improve water flow. Additionally, inspecting and replacing old or corroded pipes can help restore pressure.
- Check for leaks in visible pipes.
- Clean or replace faucet aerators.
- Consider installing a water pressure booster pump.
When to Consider Pipe Replacement
In some cases, low water pressure may indicate a more significant issue, such as extensive pipe corrosion or blockage, necessitating pipe replacement. If quick fixes don’t resolve the issue, it may be time to consult a professional.
| Cause | Symptoms | Solution |
|---|---|---|
| Mineral Buildup | Reduced water flow, spots on fixtures | Clean or replace affected pipes |
| Leaks | Low water pressure, increased water bills | Repair or replace leaking pipes |
| Corroded Pipes | Discolored water, low pressure | Replace corroded pipes |
By understanding the causes of low water pressure and applying the appropriate fixes, homeowners can maintain a healthy and functional plumbing system. Regular maintenance is key to preventing issues and ensuring optimal water pressure.
Winterizing Your Plumbing
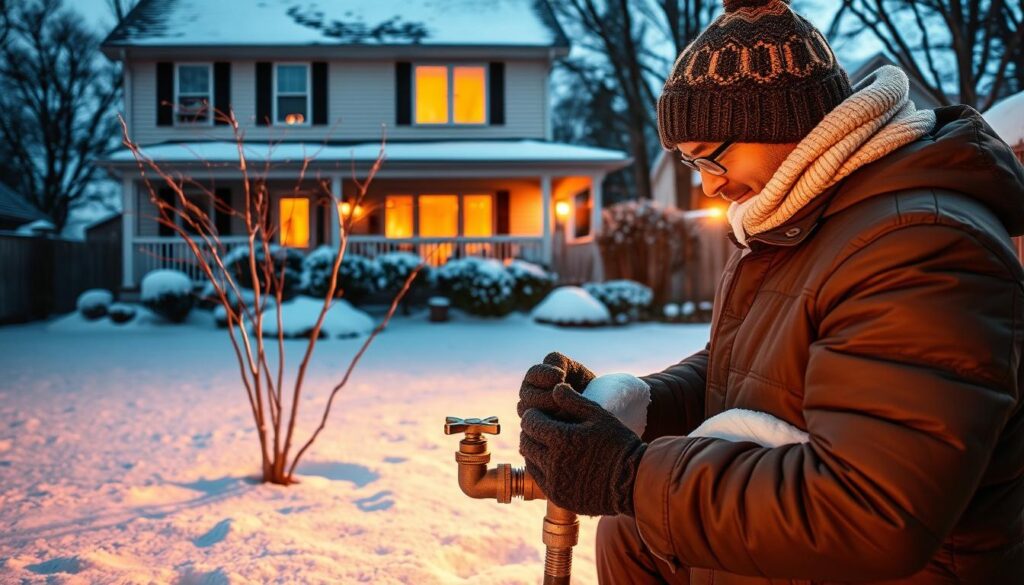
Winterizing your plumbing is a vital task that helps prevent frozen pipes and other issues during the cold months. As temperatures drop, the risk of pipes freezing and bursting increases, potentially leading to costly repairs and water damage.
Steps to Prevent Frozen Pipes
To prevent frozen pipes, it’s essential to take proactive measures. Start by insulating exposed pipes in unheated areas like the garage, basement, or crawlspace. Use foam pipe insulation or wrap pipes with heat tape or thermostatically controlled heat cables.
Key steps to prevent frozen pipes include:
- Disconnecting and draining hoses from outdoor faucets
- Sealing any cracks or gaps in the walls, floors, or foundation
- Letting cold water drip from faucets served by exposed pipes
- Opening cabinet doors to allow warm air to circulate around pipes
How to Properly Drain Outdoor Faucets
Draining outdoor faucets is a simple yet effective way to prevent freezing. To do this, locate the shut-off valve for your outdoor faucet and turn it off. Then, drain the faucet by opening it and letting the water drain out.
For faucets that are prone to freezing, consider installing freeze-proof faucets or frost-proof spigots.
Insulating Your Home’s Plumbing
Insulation plays a crucial role in protecting your plumbing from freezing temperatures. In addition to insulating exposed pipes, consider insulating your home’s walls, floors, and crawlspaces to maintain a warmer overall temperature.
| Insulation Method | Description | Effectiveness |
|---|---|---|
| Foam Pipe Insulation | Wraps around pipes to prevent heat loss | High |
| Heat Tape or Cables | Electrically heats pipes to prevent freezing | High |
| Pipe Sleeves | Fits over pipes to reduce heat loss | Medium |
By following these steps and taking the necessary precautions, you can protect your home’s plumbing from the harsh effects of winter. For more complex issues or if you’re unsure about how to winterize your plumbing, consider consulting a professional plumber.
The Importance of Regular Plumbing Maintenance
Keeping your plumbing system in good condition is vital for the overall health of your home. Regular plumbing maintenance can help prevent major issues, reduce repair costs, and ensure your home’s plumbing system operates efficiently.
Benefits of Routine Inspections
Routine inspections are a crucial part of plumbing maintenance. By regularly checking your pipes, fixtures, and appliances, you can identify potential issues before they become major problems. Some benefits of routine inspections include:
- Early detection of leaks and other issues
- Prevention of costly repairs
- Improved water efficiency
- Enhanced overall safety of your home
Regular inspections can help you stay on top of your plumbing maintenance and avoid unexpected surprises.
DIY Maintenance Tips for Homeowners
As a homeowner, you can perform several DIY maintenance tasks to keep your plumbing system in good condition. Some tips include:
- Checking your water pressure regularly
- Inspecting your pipes for signs of wear and tear
- Cleaning your drains regularly
- Checking your toilet flappers and fill valves for proper function
By following these simple tips, you can help prevent common plumbing issues and keep your system running smoothly.
Knowing When to Call a Professional
While DIY maintenance is essential, there are times when you need to call a professional plumber. Some scenarios where professional help is recommended include:
- Complex pipe repairs or replacements
- Issues with your water heater or other major appliances
- Recurring clogs or other persistent problems
If you’re unsure about how to address a plumbing issue or if you’ve tried DIY repairs without success, it’s time to call a professional.
Final Thoughts on Plumbing Repairs
Mastering simple plumbing tasks for homeowners can significantly reduce the need for costly professional interventions. By understanding fundamental plumbing issues at home, you can address problems early on, preventing them from escalating into more complex issues.
Understanding Your Capabilities
It’s crucial to know your limits when dealing with plumbing repairs. While DIY fixes can be cost-effective, some issues require professional expertise. Recognizing when to call a plumber can save you from potential risks and further damage.
Establishing a Relationship with a Professional
Building a relationship with a reliable plumber can be beneficial for future repairs and maintenance. A trusted professional can provide guidance on simple plumbing tasks and offer emergency services when needed.
Continuing Your Education
For those interested in expanding their plumbing knowledge, numerous resources are available. Online tutorials, plumbing guides, and workshops can help you stay updated on the best practices for maintaining your home’s plumbing system.
