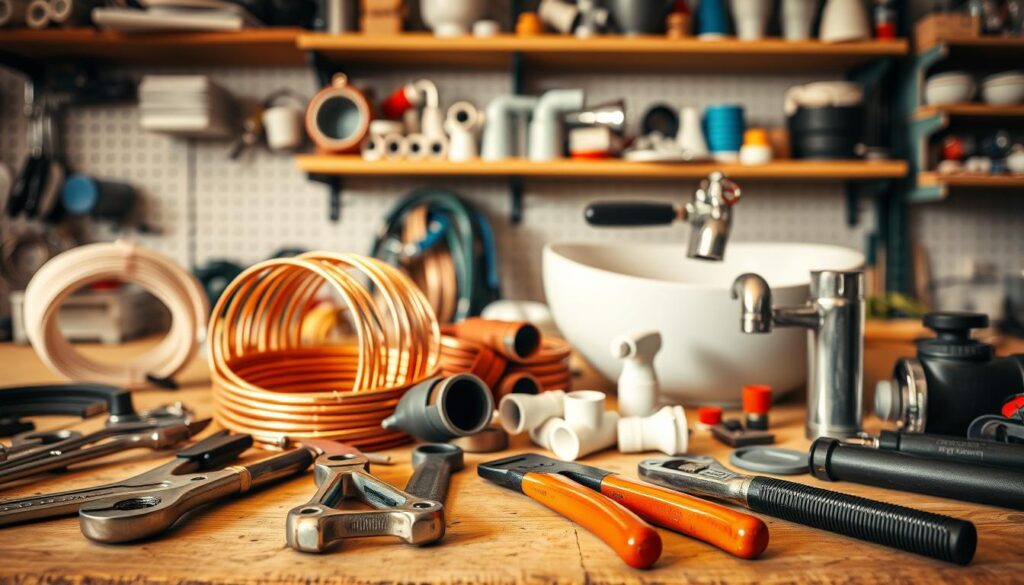
Have you ever faced a leaky faucet or a clogged drain, only to be hit with a hefty bill from a plumber? DIY plumbing fixes can be a cost-effective solution, saving you money and empowering you to take control of your home’s maintenance.
With basic tools and skills, you can tackle simple plumbing issues, such as fixing a leaky faucet or unclogging a drain. By doing so, you’ll not only save money but also gain confidence in your ability to handle minor plumbing tasks.
By following easy plumbing repairs guides, you’ll be able to identify and fix common issues, reducing your reliance on professional plumbers. This introduction will guide you through the importance of DIY plumbing fixes and provide a foundation for the easy steps to follow.
Key Takeaways
- Save money by doing simple plumbing repairs yourself.
- DIY plumbing fixes are cost-effective and empowering.
- Basic tools and skills are required for minor plumbing tasks.
- Easy plumbing repairs guides can help you identify and fix common issues.
- Tackling simple plumbing issues can boost your confidence in home maintenance.
Understanding Common Plumbing Problems
Understanding the most common plumbing issues, such as leaky faucets and clogged drains, is crucial for homeowners to maintain their homes efficiently. Plumbing problems can lead to significant water waste, increased utility bills, and potential damage to the home if not addressed promptly.
Leaky Faucets
A leaky faucet is not just annoying; it can also waste a significant amount of water. According to the Plumbing United, a single dripping faucet can waste more than 3,000 gallons of water per year. The causes can range from worn-out O-rings to damaged valve seats.
Running Toilets
A running toilet is another common issue that can increase water bills unnecessarily. The problem often lies in the flapper or the fill valve. For more information on fixing these issues, you can refer to resources like World Civil Society, which provides insights into DIY plumbing repairs.
Clogged Drains
Clogged drains are a frequent problem, often caused by the buildup of hair, soap, and grease. Understanding how to clear these clogs is essential for maintaining a functional plumbing system.
| Problem | Common Causes | Potential Fixes |
|---|---|---|
| Leaky Faucets | Worn-out O-rings, damaged valve seats | Replace O-rings, repair or replace valve seats |
| Running Toilets | Faulty flapper, malfunctioning fill valve | Adjust or replace flapper, repair or replace fill valve |
| Clogged Drains | Hair, soap, grease buildup | Use drain cleaners, plumbing snakes, or call a professional |
By understanding these common plumbing problems, homeowners can take the first step towards fixing them. Subsequent sections will delve into the detailed steps for repairing these issues.
Tools You’ll Need for Basic Repairs
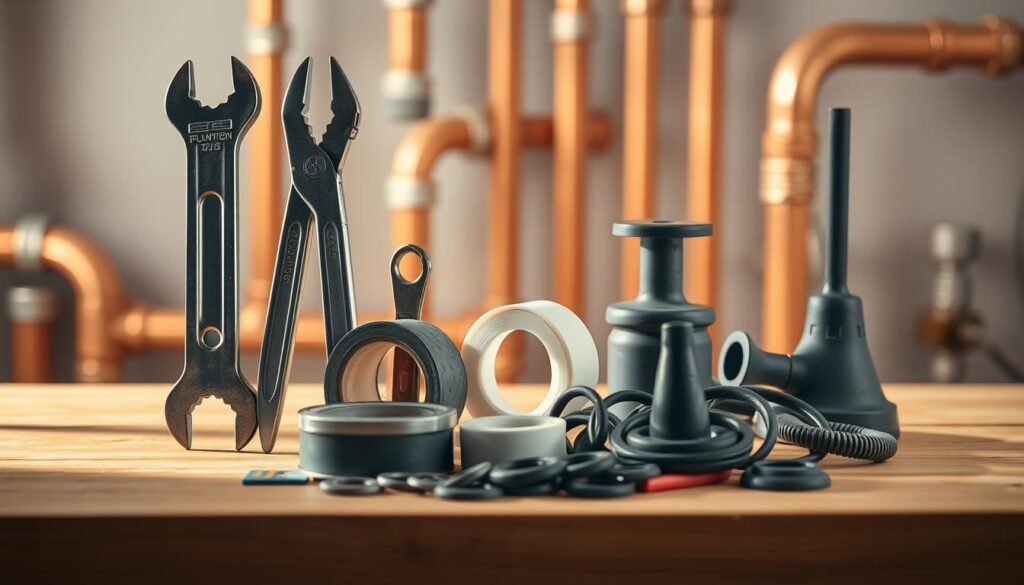
Before diving into DIY plumbing repairs, it’s essential to gather the right tools and equipment. Having the correct tools on hand is vital for tackling basic plumbing fixes at home efficiently.
Essential Plumbing Tools
To start with, you’ll need some fundamental plumbing tools. These include:
- Pipe Wrenches: Used for gripping and twisting pipes, these are indispensable for many plumbing repairs.
- Pliers: Needle-nose pliers are particularly useful for reaching into tight spaces.
- Thread Sealant Tape: Also known as Teflon tape, this is used to create a watertight seal on threaded pipe connections.
- Adjustable Wrenches: These are handy for tightening and loosening various sizes of bolts and nuts.
Safety Gear
Safety should always be a top priority when performing plumbing repairs. Essential safety gear includes:
- Gloves: Protect your hands from cuts and abrasions, as well as from harsh chemicals.
- Safety Glasses: These protect your eyes from debris and chemical splashes.
- Work Light: A good light source can help illuminate dark areas, reducing the risk of accidents.
Suggested Repair Kits
Having a repair kit on hand can make plumbing repairs more manageable. A typical plumbing repair kit might include:
- Pipe Repair Clamps: Used to fix leaks in pipes.
- Faucet Repair Parts: Such as O-rings, gaskets, and valve seats.
- Toilet Repair Parts: Including flappers, fill valves, and flush valves.
By equipping yourself with these essential tools, safety gear, and repair kits, you’ll be well-prepared to tackle basic plumbing repairs, making your DIY plumbing repair guide comprehensive and effective.
How to Fix a Leaky Faucet
A leaky faucet can be more than just annoying; it’s a waste of water that can be fixed with some basic plumbing knowledge. Fixing a leaky faucet involves identifying the cause of the leak, replacing worn-out parts, and testing the repair to ensure it’s working properly.
Identify the Cause of the Leak
The first step in fixing a leaky faucet is to determine where the leak is coming from. Common causes include worn-out O-rings, damaged valve seats, or loose connections. To identify the source, turn on the faucet and observe where the water is coming from. This will help you understand what parts you need to replace.
Step-by-step Repair Process
Once you’ve identified the cause of the leak, you can begin the repair process. Start by shutting off the water supply to the faucet. Then, disassemble the faucet to access the damaged part. Replace the worn-out or damaged components with new ones, applying thread sealant tape to prevent future leaks. Reassemble the faucet in the reverse order that you disassembled it.
Testing the Repair
After completing the repair, turn on the water supply and check the faucet for leaks. Run both hot and cold water through the faucet to ensure that the leak is fixed. If you still notice a leak, you may need to tighten the connections further or replace additional parts.
By following these steps, you can successfully fix a leaky faucet and save water. Regular maintenance, such as checking for worn-out parts and using thread sealant tape, can help prevent future leaks.
Repairing a Running Toilet
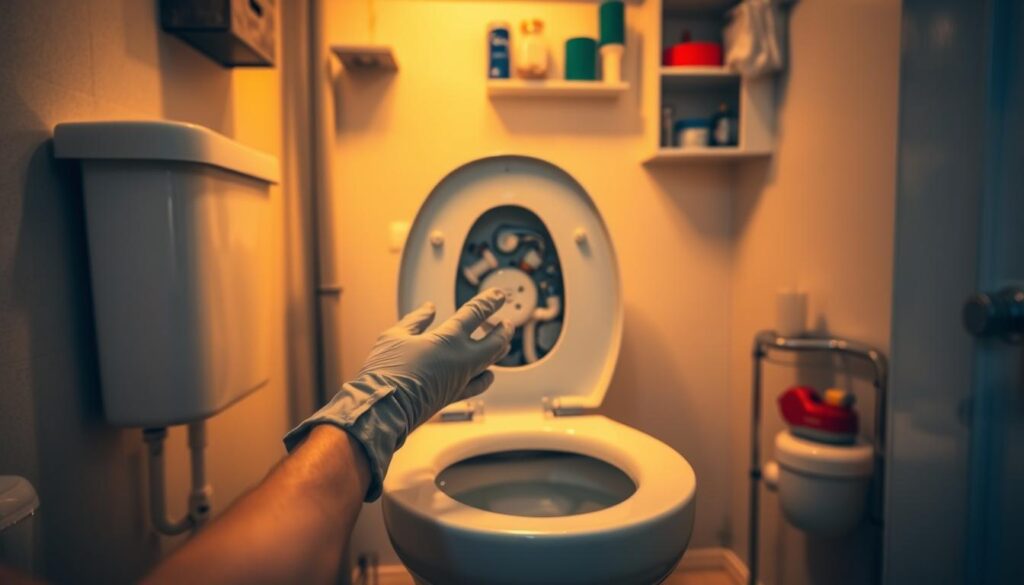
One of the most common plumbing issues homeowners face is a toilet that won’t stop running. A running toilet can waste a significant amount of water, leading to higher utility bills and unnecessary strain on your plumbing system.
Diagnosing Toilet Issues
The first step in fixing a running toilet is to identify the cause of the problem. Common culprits include a faulty flapper or fill valve, an improperly adjusted float, or issues with the toilet’s overflow tube. To diagnose the issue, start by checking the flapper to see if it’s sealing properly. If it’s not, adjust or replace it as needed.
For more detailed guidance on diagnosing and fixing toilet issues, you can visit Home Depot’s guide on how to fix a running. This resource provides step-by-step instructions and helpful tips for resolving common toilet problems.
Fixing the Flapper or Valve
If the flapper is damaged or not sealing correctly, it may need to be replaced. Similarly, if the fill valve is faulty, replacing it can resolve the issue. To replace these parts, turn off the water supply to the toilet, then follow the manufacturer’s instructions for the replacement process.
Replacing the toilet tank float valve assembly can also solve the problem if it’s the cause of the running toilet. Ensure that you choose a replacement part that is compatible with your toilet model.
Adjusting the Float
The float is a critical component of the toilet’s fill mechanism. If it’s set too high, water will continue to flow into the overflow tube, causing the toilet to run continuously. Adjusting the float to the correct level can often resolve the issue. Refer to your toilet’s manual for specific instructions on how to adjust the float.
By following these steps, you can effectively diagnose and repair a running toilet, saving water and reducing your utility bills. Regular maintenance and prompt repairs are key to preventing more significant plumbing issues down the line.
Unclogging Drains
Clearing clogged drains is a relatively simple process that can be done with the right tools and techniques. Clogged drains are a common issue in many households, leading to inconvenience and potential water damage. Understanding how to unclog drains effectively can save time and money.
Tools for Clogs
To unclog drains, you’ll need specific tools. The most common tools include a sink plunger and a drain snake. A sink plunger works by creating suction to dislodge the clog, while a drain snake is used to physically remove the blockage.
Step-by-step Unclogging Process
To unclog a drain, start by using a plunger to create suction. If this doesn’t work, use a drain snake to remove the clog. For more stubborn clogs, you may need to use chemical drain cleaners or a combination of baking soda and vinegar to dissolve the blockage.
- Use a plunger to create suction.
- Insert a drain snake to physically remove the clog.
- Apply chemical drain cleaners or natural alternatives like baking soda and vinegar for tougher clogs.
Preventive Measures
Preventing clogs is just as important as unclogging them. Regular maintenance can help avoid future issues. Using baking soda and vinegar monthly can keep drains clear. Additionally, being mindful of what you put down the drain can significantly reduce the risk of clogs.
Regular drain maintenance includes:
- Monthly use of baking soda and vinegar.
- Avoiding pouring grease or oil down the drain.
- Using drain screens to catch hair and other particles.
Replacing a Showerhead
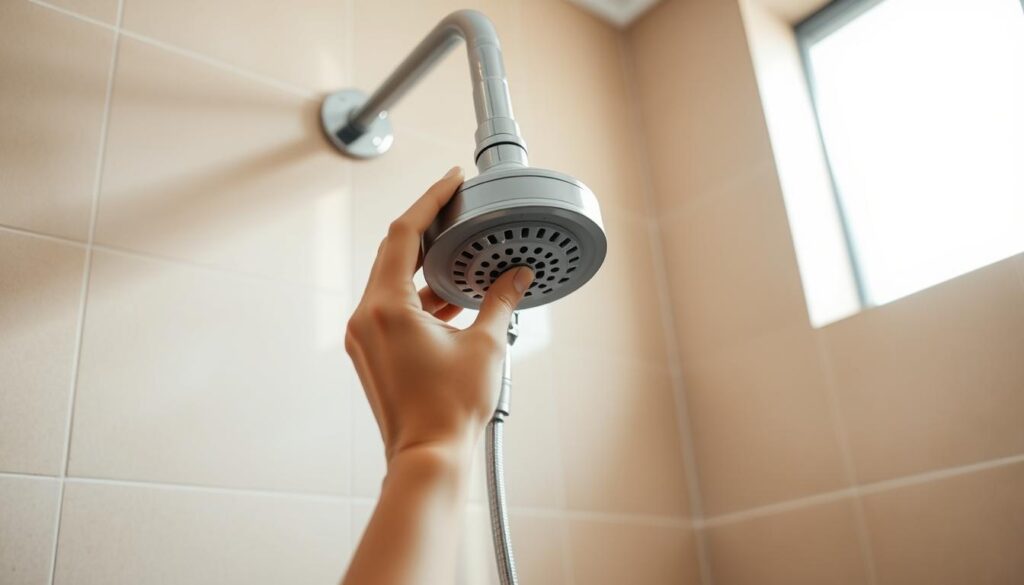
Replacing a showerhead is a straightforward DIY task that can enhance your showering experience. Over time, showerheads can become worn out or clogged, reducing water pressure and overall performance.
Why You Might Need a New Showerhead
If your showerhead is old or clogged, it might be time to consider replacing it. Signs that you need a new showerhead include low water pressure, leaks around the showerhead, or outdated features that no longer meet your needs.
A new showerhead can offer improved water pressure, additional features like different spray patterns, and enhanced durability.
Installation Tips
Installing a new showerhead is relatively simple. First, ensure you purchase a showerhead that is compatible with your existing shower arm. Most showerheads are standardized, but it’s always a good idea to check.
To install, follow these steps:
- Turn off the water supply to your shower.
- Remove the old showerhead by unscrewing it from the shower arm.
- Clean the threads on the shower arm to remove any debris or old tape.
- Apply thread sealant tape (also known as Teflon tape) to the threads to prevent leaks.
- Screw on the new showerhead until it’s snug.
- Turn on the water supply and check for leaks.
Enhancing Water Pressure
If you’re experiencing low water pressure, there are a few things you can try to enhance it. First, check for mineral buildup in your showerhead, as this can significantly reduce water flow. Soaking the showerhead in vinegar can help dissolve these deposits.
Another option is to install a showerhead with advanced features designed to improve water pressure, such as models with built-in flow restrictors or those designed for low-pressure systems.
| Showerhead Type | Water Pressure Improvement | Additional Features |
|---|---|---|
| Standard Showerhead | Basic | Single spray pattern |
| High-Pressure Showerhead | Significant improvement | Multiple spray patterns, anti-clog design |
| Rain Showerhead | Variable, depends on model | Wide coverage, luxurious feel |
Dealing with Toilet Overflows
Dealing with a toilet overflow requires immediate action to prevent further issues. A toilet overflow can lead to water damage, mold growth, and other complications that can be costly and time-consuming to rectify.
Immediate Steps to Take
When your toilet overflows, the first step is to stop the water supply to the toilet to prevent more water from flowing into the bowl. Locate the shut-off valve behind the toilet and turn it clockwise to shut off the water supply.
Key Immediate Actions:
- Turn off the water supply
- Remove excess water from the bowl
- Use a plunger or plumbing snake to clear any clogs
Repairing the Flush Mechanism
The flush mechanism is often the culprit behind toilet overflows. Issues such as a faulty flapper or an improperly adjusted float can cause the toilet to overflow.
| Issue | Solution |
|---|---|
| Faulty Flapper | Replace the flapper with a new one |
| Improperly Adjusted Float | Adjust the float to the correct water level |
Cleaning Up Safely
After addressing the immediate cause of the overflow, it’s crucial to clean up the area safely to prevent health hazards. Wear protective gear, including gloves and a mask, and ensure the area is well-ventilated.
By following these steps, you can effectively deal with toilet overflows, minimize damage, and ensure your bathroom is safe and functional again.
Basic Pipe Repair Techniques
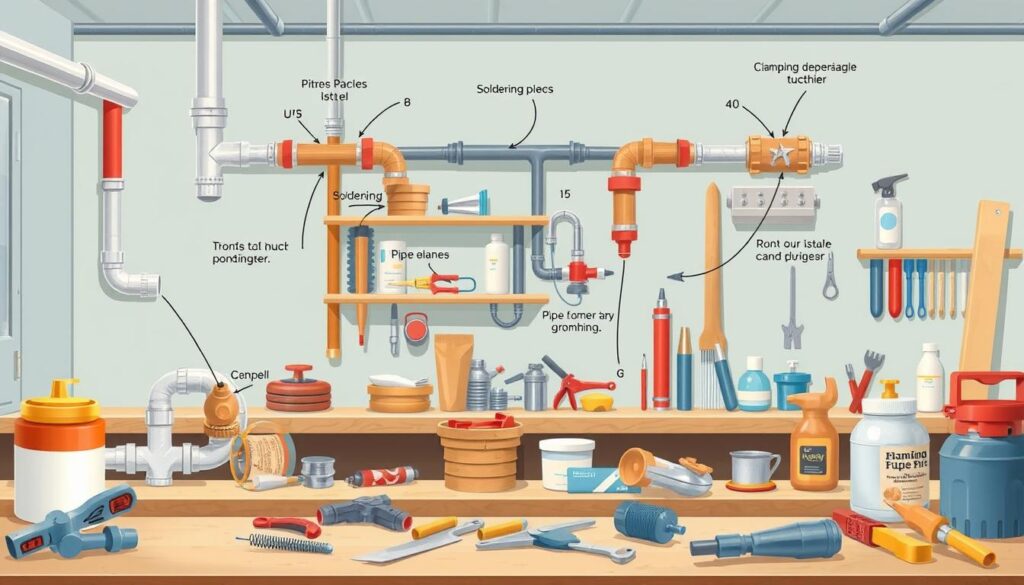
Pipe repair is a crucial skill for homeowners, enabling them to fix leaks and prevent further damage. Understanding the type of pipes you have is fundamental to effective repair.
Understanding Pipe Types
Different homes have different types of pipes, including copper, PVC, and PEX. Each type has its unique characteristics and repair requirements. For instance, copper pipes are durable but can corrode over time, while PVC pipes are resistant to corrosion but can be brittle.
Methods for Fixing Leaks
Fixing leaks often involves identifying the source of the leak and applying the appropriate repair method. Common techniques include:
- Using epoxy or pipe glue to seal small leaks
- Replacing damaged sections of pipe
- Applying pipe clamps or sleeves to reinforce leaking areas
For a comprehensive guide on DIY pipe leak repair, you can refer to resources like Balkan Plumbing’s DIY Guide.
When to Call a Professional
While many pipe repairs can be done DIY, there are situations where it’s best to call a professional plumber. These include:
| Situation | Reason to Call a Professional |
|---|---|
| Major leaks or bursts | Risk of significant water damage |
| Complex pipe configurations | Difficulty in accessing or repairing pipes |
| Uncertainty about pipe material or repair method | Risk of incorrect repair or further damage |
In emergency situations, such as a major leak, it’s advisable to seek emergency contractor services to mitigate damage.
Water Heater Maintenance
Maintaining your water heater is crucial for extending its lifespan and ensuring it operates efficiently. Regular maintenance can help prevent sudden failures, reduce energy consumption, and ensure a steady supply of hot water.
Signs Your Heater Needs Attention
Several signs indicate your water heater needs maintenance. These include:
- Leaks around the heater
- Rusty or discolored water coming from the taps
- Inconsistent water temperatures
- Unusual noises from the heater
If you notice any of these signs, it’s essential to take action promptly to prevent further damage.
Simple Maintenance Steps
Performing simple maintenance on your water heater can significantly extend its lifespan. Here are some steps you can take:
- Check the temperature and pressure relief valve
- Inspect the anode rod for corrosion
- Flush the tank to remove sediment
- Check for leaks around the connections
| Maintenance Task | Frequency | Benefit |
|---|---|---|
| Check Temperature & Pressure Relief Valve | Every 6 months | Prevents excessive pressure buildup |
| Inspect Anode Rod | Every 12 months | Reduces tank corrosion |
| Flush the Tank | Every 12 months | Removes sediment, improving efficiency |
When to Replace Your Water Heater
Despite regular maintenance, water heaters have a limited lifespan. Typically, a water heater lasts between 8 to 12 years. If your water heater is approaching or has exceeded this age range, or if you’ve noticed significant issues that maintenance can’t resolve, it may be time to consider replacing it.
Replacing your water heater with a new, efficient model can provide several benefits, including lower energy bills and improved performance.
Installing a New Faucet
With the right tools and instructions, installing a new faucet is a manageable task for homeowners. This process involves several key steps, from selecting the appropriate faucet to ensuring a leak-free installation.
Choosing the Right Faucet
Selecting the right faucet for your kitchen or bathroom is crucial. Consider factors such as the type of sink you have, the desired finish, and the functionality you need. For instance, if you have a double sink, you might prefer a faucet with a separate handle for each sink or a single-handle faucet that controls both.
- Consider the faucet’s finish: chrome, stainless steel, or brass.
- Think about the functionality: touchless, single-handle, or double-handle.
- Check the faucet’s compatibility with your sink type.
For more detailed guidance on choosing the right faucet, you can visit Lowe’s guide on installing a kitchen, which provides comprehensive advice on selecting and installing faucets.
Installation Steps
Once you’ve chosen your faucet, follow these installation steps:
- Shut off the water supply to avoid any leaks or water damage during the installation process.
- Disconnect the old faucet, taking care to remove any remaining water from the pipes.
- Clean the area around the sink where the new faucet will be installed.
- Apply thread sealant tape to the new faucet’s threads to ensure a leak-free connection.
- Mount the new faucet according to the manufacturer’s instructions.
Final Touches
After installing the new faucet, turn on the water supply and check for leaks. Run both hot and cold water through the faucet to ensure it’s working properly. Make any necessary adjustments to the faucet’s handles or aerator.
By following these steps, you can successfully install a new faucet and enjoy improved functionality and style in your kitchen or bathroom.
Understanding Drainage Systems
Understanding how your home’s drainage system works can save you from costly repairs and headaches. A drainage system is a network of pipes that carry wastewater away from your home to a sewer or septic system.
How Drains Work
Drains are an essential part of your home’s plumbing system. They are designed to remove wastewater from your sinks, toilets, and showers. The wastewater flows through a system of pipes, driven by gravity, to a sewer or septic tank. For more detailed information on home drainage systems, you can visit this resource.
Common Drain Issues
Despite their importance, drains can be prone to several issues. Some common problems include:
- Clogs due to hair, grease, and debris
- Slow draining due to partial clogs or pipe damage
- Backups caused by blockages or heavy rainfall
These issues can lead to unpleasant odors, water damage, and health hazards if not addressed promptly.
Maintenance Tips for Homeowners
Regular maintenance is key to preventing drain issues. Here are some tips:
| Maintenance Task | Frequency | Benefit |
|---|---|---|
| Check for clogs | Monthly | Prevents backups |
| Clean drains | Quarterly | Removes grease and debris |
| Inspect pipes | Annually | Identifies potential issues early |
By following these maintenance tips, homeowners can significantly reduce the risk of drain-related problems.
Knowing When to Call a Plumber
Being aware of when to call a plumber can save you time, money, and the hassle of dealing with complicated plumbing issues. While many plumbing problems can be addressed with DIY fixes, there are situations that require the expertise of a professional plumber.
Signs Professional Help is Needed
Certain signs indicate that you need to seek professional plumbing help. These include persistent leaks that don’t stop even after attempting to fix them, severe clogs that cause backups or overflows, and complex pipe issues that are beyond your ability to repair.
Other indicators include water heater malfunctions, low water pressure, and strange noises coming from your pipes. If you’re unsure about the cause of the problem or feel uncomfortable attempting a repair, it’s best to call a professional.
Cost Considerations
The cost of hiring a plumber can vary widely depending on the nature of the problem, the plumber’s rates, and your location. It’s essential to get quotes from multiple plumbers to compare prices and services.
| Service | Average Cost | Factors Affecting Cost |
|---|---|---|
| Emergency Call | $100-$200 | Time of day, urgency |
| Standard Repair | $50-$150 per hour | Complexity of the job, plumber’s rates |
| Installation | $200-$1,000+ | Type of fixture, complexity |
Finding a Reliable Plumber
To find a reliable plumber, start by asking for referrals from friends, family, or neighbors. Check online reviews and ratings to gauge a plumber’s reputation and reliability.
Ensure that any plumber you consider is licensed, insured, and has experience with the type of problem you’re facing. Don’t hesitate to ask for a detailed estimate before work begins.
Final Thoughts on DIY Plumbing Repairs
Mastering basic plumbing repairs can be a valuable skill for homeowners, allowing them to save money on labor costs and tackle issues promptly. By learning DIY plumbing repairs, individuals can enhance their handyman skills and become more self-sufficient in maintaining their homes.
Practical Benefits
The benefits of learning basic plumbing repairs are numerous. Not only can it save homeowners money, but it also provides the satisfaction of fixing issues independently. For more detailed guides and tutorials, resources are available online, such as those found on Magnificent Plumbing, which offers comprehensive advice on DIY plumbing fixes.
Safety First
When performing DIY plumbing repairs, safety should always be a top priority. This includes wearing protective gear, turning off the main water supply before starting repairs, and being mindful of potential hazards such as slippery floors and sharp edges. In cases of emergency, such as burst pipes or significant water damage, it’s crucial to know when to seek professional help, as seen in services provided by emergency construction services.
