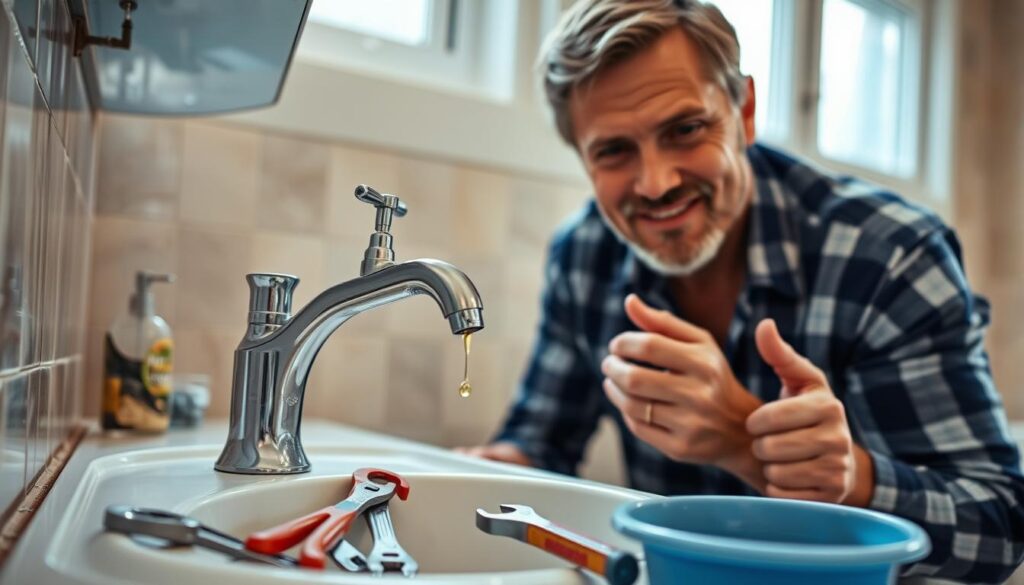
Imagine being able to fix a leaky faucet or unclog a drain without calling a professional plumber. With some basic tools and DIY skills, homeowners can save money by tackling simple plumbing fixes themselves.
DIY plumbing repair tips can be incredibly empowering, allowing homeowners to take control of their home maintenance. By learning a few simple techniques, individuals can avoid costly service calls and feel a sense of accomplishment in resolving common plumbing issues.
Key Takeaways
- Save money by doing simple plumbing repairs yourself.
- Basic tools and skills are all you need to get started.
- Learn to fix common issues like leaky faucets and clogged drains.
- DIY plumbing repairs can be a cost-effective solution.
- Empower yourself with the knowledge to tackle plumbing tasks.
Identifying Common Plumbing Issues
Common plumbing issues such as leaky faucets, running toilets, and clogged drains are more easily fixed when properly identified. These problems can lead to significant water waste and increased utility bills if not addressed promptly.
Leaky Faucets: Causes and Solutions
A leaky faucet is not only annoying, but it also wastes a considerable amount of water. The most common cause of a leaky faucet is a worn-out or damaged O-ring or washer. To fix this, you’ll need to disassemble the faucet to replace the faulty part. Regular maintenance, such as checking and replacing worn-out parts, can prevent leaks.
Running Toilets: Quick Fixes
A running toilet can waste a significant amount of water and increase your water bill. The issue is often caused by a faulty flapper or an improperly adjusted float. To fix a running toilet, check the flapper for proper sealing and adjust the float to ensure it shuts off correctly when the tank is full.
Clogged Drains: Prevention and Remedies
Clogged drains are a common plumbing issue that can be prevented with proper care. Using a drain screen to catch hair and other debris can significantly reduce the risk of clogs. For existing clogs, using a plunger or a drain snake can be effective remedies. For more severe clogs, a mixture of baking soda and vinegar can help dissolve the blockage.
By understanding the causes of these common plumbing issues and applying the appropriate fixes, homeowners can save water, reduce their utility bills, and avoid the inconvenience of more significant plumbing problems.
Tools Every Homeowner Should Have
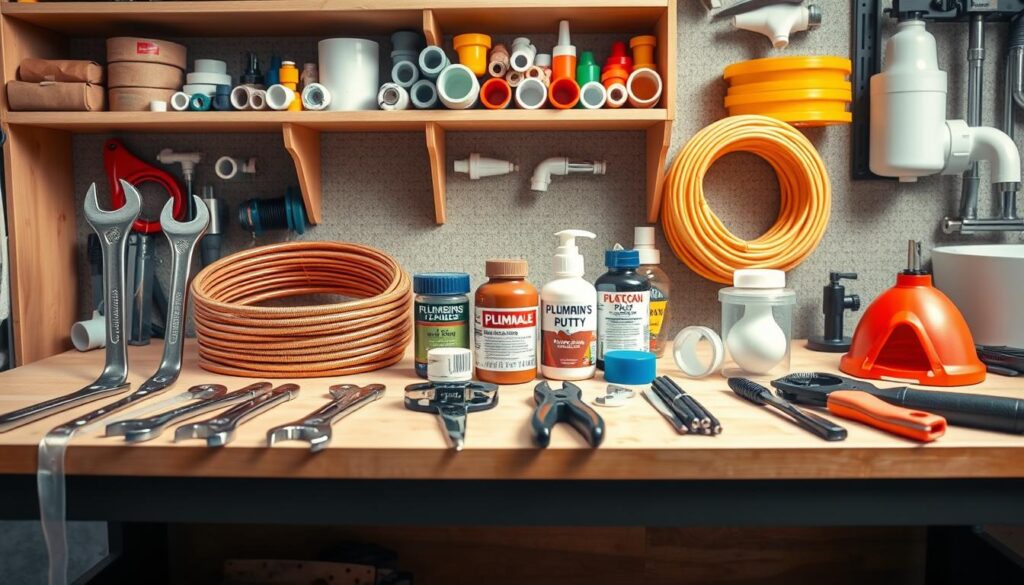
Before diving into DIY plumbing repairs, it’s vital to assemble a toolkit that includes the essentials. Having the right tools can make a significant difference in the success and safety of your plumbing projects.
Essential Plumbing Tools to Keep Handy
Every homeowner should have a basic set of plumbing tools. These include a plunger, pipe wrench, adjustable wrench, and Teflon tape. For more complex tasks, consider investing in a drain snake and a pipe cutter.
| Tool | Usage |
|---|---|
| Plunger | Unclogging drains and toilets |
| Pipe Wrench | Loosening and tightening pipe fittings |
| Adjustable Wrench | Gripping and twisting objects |
| Teflon Tape | Sealing pipe threads |
How to Use a Plunger Effectively
Using a plunger effectively requires the right technique. First, ensure the plunger is properly seated over the clogged drain. Then, push down slowly and steadily until you feel resistance, followed by a quick pull upwards. Repeat this process several times until the clog is cleared.
For more information on top plumbing tools and pipes for DIY projects, visit this resource.
When to Use a Pipe Wrench
A pipe wrench is used for loosening and tightening pipe fittings. It’s essential for tasks that require a lot of torque. When using a pipe wrench, ensure it’s adjusted to fit the pipe snugly to avoid damaging the pipe or the fitting.
By having these essential tools and understanding how to use them, homeowners can tackle common plumbing issues with confidence. For more DIY plumbing repair tips, consider exploring additional resources and guides.
Fixing Leaks in Pipes and Fixtures
Understanding how to fix leaks is essential for maintaining a safe and efficient plumbing system. Leaks can lead to significant water loss, damage to property, and increased utility bills. Addressing these issues promptly is crucial for homeowners.
Step-by-Step Guide to Repair Pipe Leaks
Repairing pipe leaks involves several steps that homeowners can follow to ensure a successful fix. First, it’s essential to turn off the main water supply to prevent further leakage. Next, identify the source of the leak and assess the extent of the damage. For small leaks, applying pipe repair tape or epoxy can be an effective temporary solution. However, for more significant leaks or damaged pipes, replacement may be necessary.
The process involves:
- Cleaning the area around the leak
- Applying the appropriate repair material
- Allowing the repair to dry or set
- Testing the pipe to ensure the leak is fixed
How to Replace a Faucet Washer
Replacing a faucet washer is a straightforward process that can resolve leaky faucet issues. Start by turning off the water supply to the faucet. Then, disassemble the faucet to access the worn-out washer. Remove the old washer and replace it with a new one that matches the original specifications. Reassemble the faucet and turn on the water supply to test for leaks.
Common Causes of Pipe Leaks
Pipe leaks can be caused by various factors, including corrosion, freezing temperatures, and high water pressure. Corrosion weakens pipes over time, making them more susceptible to leaks. Freezing temperatures can cause pipes to burst, especially in unheated areas like the garage or basement. High water pressure can also strain pipes, leading to leaks or bursts.
Understanding these causes can help homeowners take preventive measures, such as insulating pipes in cold areas and checking for signs of corrosion or wear.
Unclogging Drains: Do It Yourself
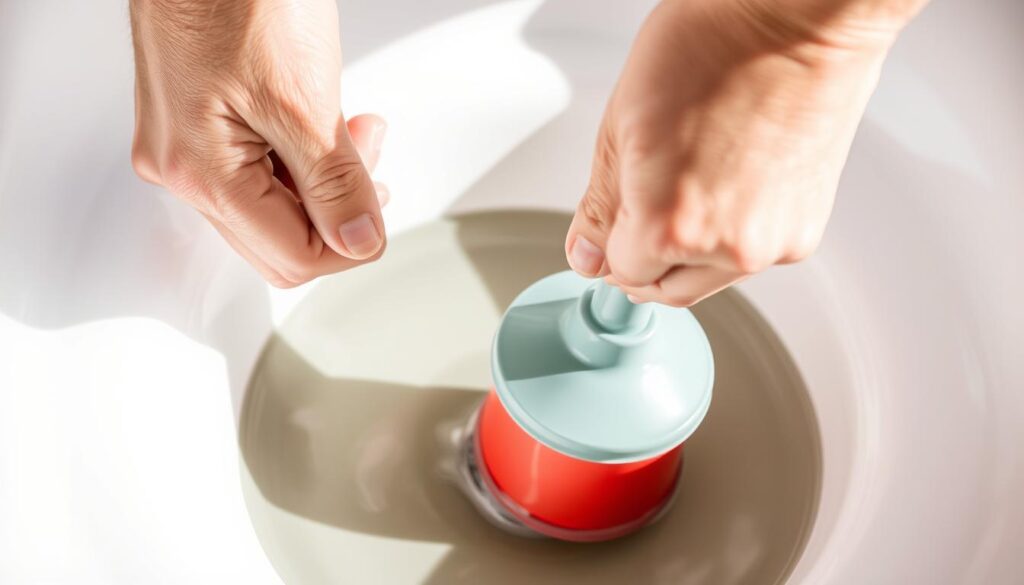
Dealing with clogged drains doesn’t have to be a daunting task; homeowners can resolve the issue with simple DIY approaches. Clogged drains are not only frustrating, but they can also lead to more significant plumbing issues if not addressed promptly.
Using Baking Soda and Vinegar
One of the most effective and eco-friendly methods for unclogging drains is using a combination of baking soda and vinegar. This mixture reacts to form carbon dioxide, which can help dislodge the blockage. To use this method, pour 1/2 cup of baking soda down the drain, followed by 1/2 cup of vinegar. Let the mixture sit for a few hours or overnight before rinsing with hot water.
As Benjamin Franklin once said, “An investment in knowledge pays the best interest.” Investing time in learning simple DIY fixes like this can save you money and hassle in the long run.
The Role of a Drain Snake
For more stubborn clogs, a drain snake (also known as an auger) can be a valuable tool. It works by inserting a long, flexible cable into the drain and maneuvering it to break up or retrieve the clog. Using a drain snake requires some care to avoid damaging your pipes, so it’s essential to follow the manufacturer’s instructions.
- Feed the cable into the drain until you feel resistance.
- Rotate the handle to break up the clog.
- Withdraw the cable, taking care not to scratch your pipes.
When to Call a Professional
While DIY methods can be effective, there are times when it’s necessary to call a professional plumber. If you’ve tried multiple DIY methods without success, or if you suspect a more complex issue with your plumbing system, it’s time to seek expert help. Professionals have the tools and knowledge to diagnose and fix problems that are beyond the scope of DIY repairs.
“The right tool for the job makes all the difference.” This saying holds true for plumbing repairs, where using the correct equipment can mean the difference between a quick fix and a prolonged problem.
Repairing Toilets: Quick Fixes
A faulty toilet can be a significant inconvenience, but fortunately, many issues can be resolved with simple repairs. Toilets are prone to various problems, including issues with the flush mechanism, tank lid, and float. Addressing these problems promptly can save water, reduce your utility bills, and prevent more extensive damage.
How to Fix a Toilet Flush Mechanism
The toilet flush mechanism is a critical component that requires occasional adjustment or repair. If your toilet is not flushing properly, it might be due to a misaligned or faulty flapper. To fix this, start by checking the flapper chain for tangles or twists. Ensure it’s not too long or too short, as this can prevent the flapper from sealing correctly. If the flapper is damaged, consider replacing it. For more complex issues, refer to online resources such as Lowe’s guide on common toilet problems for detailed instructions.
“A well-functioning toilet is not just a matter of convenience; it’s also about water conservation,” says plumbing expert, John Smith. “Simple adjustments can make a significant difference in reducing water waste.”
Replacing a Toilet Tank Lid
Replacing a toilet tank lid is a straightforward process that can be completed in a few steps. First, purchase a replacement lid that matches your toilet’s specifications. To install, simply align the lid with the tank and gently lower it into place. Ensure it’s properly seated to avoid any issues with the flush mechanism. If you’re unsure about the correct replacement or installation process, consult a professional plumber.
Adjusting the Float for Better Performance
The float is a crucial component that controls the water level in your toilet tank. If the water level is too high or too low, it can lead to inefficient flushing or continuous running. To adjust the float, locate the adjustment screw or clip and modify it accordingly. For most modern toilets, turning the adjustment screw clockwise will lower the water level, while counterclockwise will raise it. Check your toilet’s manual for specific instructions, as different models may have varying adjustment mechanisms.
By mastering these quick fixes, you can significantly improve your toilet’s performance and longevity. Regular maintenance, such as checking for signs of wear and tear, can also help prevent more severe issues from arising. As Benjamin Franklin once said, “An investment in knowledge pays the best interest.” Investing time in understanding your toilet’s mechanics can save you money and hassle in the long run.
Dealing with Water Pressure Problems
Water pressure problems, whether too high or too low, can lead to various plumbing issues. These issues can range from minor inconveniences to significant problems that require immediate attention.
Causes of Low Water Pressure
Low water pressure can be caused by several factors, including clogged or corroded pipes, leaks in the plumbing system, or issues with the municipal water supply. Understanding the root cause is crucial for applying the correct fix.
Some common causes include:
- Mineral buildup in pipes
- Leaks in the plumbing system
- Poorly designed or installed plumbing systems
How to Troubleshoot Pressure Issues
Troubleshooting water pressure issues involves a systematic approach. Start by checking the shut-off valves to ensure they are fully open. Then, inspect the water meter and pressure regulator if your system has one.
Other steps include:
- Inspecting pipes for leaks or corrosion
- Checking for mineral buildup in aerators and showerheads
- Testing the water pressure using a pressure gauge
Solutions for High Water Pressure
High water pressure can be just as problematic as low water pressure, potentially leading to leaks, burst pipes, and appliance damage. Solutions include installing a pressure-reducing valve or adjusting the existing pressure regulator.
It’s also essential to:
- Regularly check the pressure gauge to ensure the pressure is within a safe range
- Consider upgrading to a more robust plumbing system if necessary
Addressing water pressure problems effectively requires understanding the causes and applying the appropriate solutions. Whether dealing with low or high water pressure, a proactive approach can help prevent more significant issues.
Simple Steps for Water Heater Repair
Simple repairs can significantly extend the lifespan of your water heater. Regular maintenance and timely repairs can help prevent major issues and ensure your water heater operates efficiently.
Checking the Thermostat Settings
The thermostat controls the temperature of the water in your heater. If the temperature is set too high, it can lead to scalding and increased energy bills. Conversely, if it’s set too low, it may not provide sufficiently hot water. Adjusting the thermostat is a straightforward process that can resolve many temperature-related issues.
To check the thermostat, first, ensure your water heater is safe to work on by turning off the power supply. Then, locate the thermostat and adjust it according to the manufacturer’s instructions. It’s essential to be cautious when handling electrical components.
Flushing Sediment from the Tank
Sediment buildup in the tank can reduce the efficiency of your water heater and lead to premature wear. Flushing the tank periodically can help remove sediment and maintain the heater’s performance. To flush the tank, you’ll need to connect a hose to the drain valve and direct the water to a drain or outside.
The process involves turning off the power and cold water supply, then opening the drain valve. Be prepared for the water to be hot and potentially murky. Once the tank is drained, close the valve and refill the tank before restoring power.
When to Replace Your Water Heater
Despite regular maintenance, water heaters have a limited lifespan. If your water heater is old or experiencing frequent issues, it might be time to consider replacement. Signs that indicate the need for a new water heater include persistent leaks, rusty water, and inadequate hot water supply.
Replacing a water heater involves selecting a suitable replacement unit and ensuring it’s installed correctly. It’s often advisable to consult a professional for this task to ensure safety and compliance with local regulations.
Managing Household Plumbing Emergencies
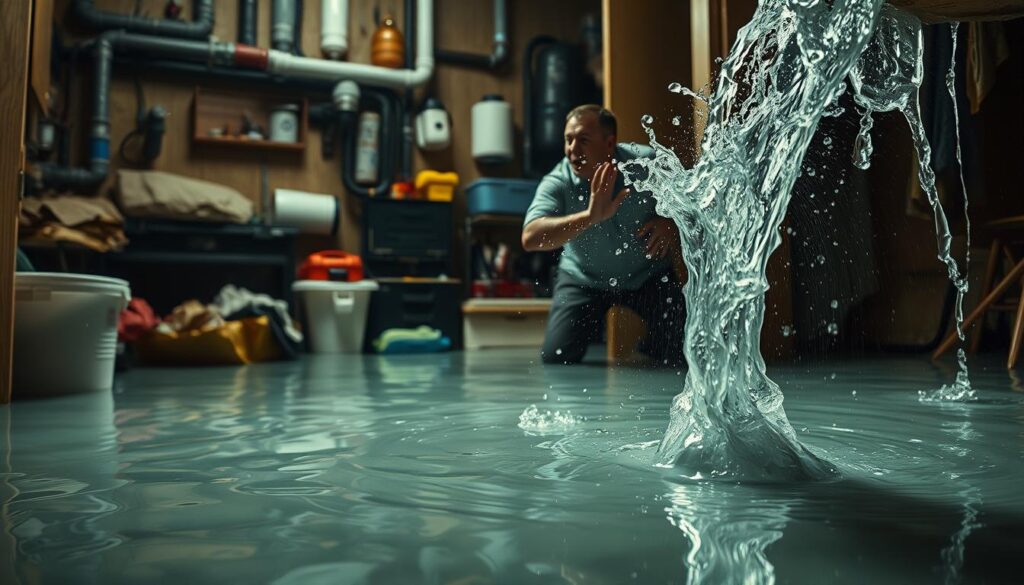
Managing household plumbing emergencies effectively requires knowledge, quick thinking, and the right tools. Plumbing emergencies can range from burst pipes to overflowing toilets, and knowing how to respond can significantly reduce damage and stress.
Common Emergencies and Quick Responses
Some of the most common plumbing emergencies include burst pipes, leaky faucets, and clogged drains. For burst pipes, it’s crucial to act quickly to minimize water damage. Turn off the main water supply immediately and contact a professional plumber.
For leaky faucets, isolating the leak by turning off the water supply to the faucet can prevent further damage. Clogged drains can often be cleared with a plunger or a drain snake, but severe clogs may require professional assistance.
How to Turn Off Your Water Supply
Knowing how to turn off your water supply is crucial in managing plumbing emergencies. The main water shut-off valve is typically located near the water meter or where the water line enters your home. It’s essential to familiarize yourself with the location and operation of this valve.
To turn off the water supply, use a wrench to turn the valve clockwise. This will stop the flow of water into your home, helping to prevent further damage during an emergency.
Creating a Plumbing Emergency Kit
A plumbing emergency kit can be a lifesaver during a plumbing crisis. The kit should include essential items such as a plunger, pipe wrench, Teflon tape, and a bucket. Having these tools on hand can help you respond quickly and effectively to common plumbing issues.
For more detailed emergency plumbing tips, you can visit Christianson Co.’s guide on emergency plumbing for homeowners.
| Emergency | Quick Response | Tools Needed |
|---|---|---|
| Burst Pipe | Turn off main water supply | Wrench, pipe clamp |
| Leaky Faucet | Isolate faucet, turn off water supply | Adjustable wrench, Teflon tape |
| Clogged Drain | Use plunger or drain snake | Plunger, drain snake |
Understanding Plumbing Systems Basics
Understanding the fundamentals of residential plumbing systems is essential for homeowners. A well-functioning plumbing system is crucial for the comfort and safety of your home. It involves a network of pipes, fixtures, and appliances that work together to supply water and remove waste.
How Residential Plumbing Systems Work
Residential plumbing systems operate by distributing water throughout the house and removing wastewater. The system includes a water supply line, water heater, drainage pipes, and various fixtures such as sinks, toilets, and showers. The water supply line brings fresh water into the home, while the drainage system carries wastewater away.
Key components of the plumbing system include:
- Water supply lines
- Drainage pipes
- Fixtures (sinks, toilets, showers)
- Water heater
Important Components of Your Plumbing System
The plumbing system consists of several critical components that work together to ensure its proper functioning. The water meter measures the amount of water used, while the main shut-off valve controls the water supply to the house.
| Component | Function |
|---|---|
| Water Supply Lines | Bring fresh water into the home |
| Drainage Pipes | Remove wastewater |
| Water Heater | Heats water for household use |
As noted by a plumbing expert, “Regular maintenance is key to extending the life of your plumbing system.”
“Regularly inspecting your plumbing system can help identify potential issues before they become major problems.”
The Importance of Regular Maintenance
Regular maintenance is crucial for preventing plumbing issues and ensuring the longevity of your system. This includes checking for leaks, inspecting water heaters, and clearing clogs. By staying on top of maintenance, homeowners can avoid costly repairs and ensure their plumbing system operates efficiently.
By understanding how your residential plumbing system works and maintaining it regularly, you can prevent many common plumbing issues. This knowledge empowers homeowners to take better care of their homes and avoid unnecessary expenses.
Routine Maintenance for Prevention
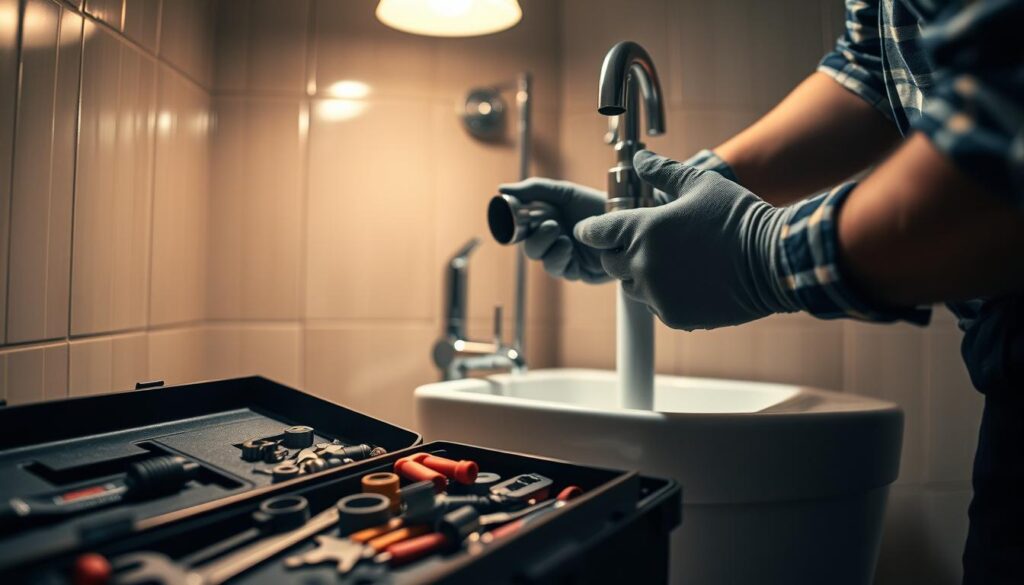
Preventing plumbing problems starts with regular maintenance and inspections. By staying on top of your plumbing system’s condition, you can avoid costly repairs and ensure everything runs smoothly.
Checking for Signs of Wear
One of the critical aspects of routine maintenance is checking for signs of wear and tear on your plumbing fixtures and pipes. Look for leaks under sinks, around toilets, and near water heaters. Check faucets for drips and ensure that all connections are secure. Regularly inspecting these areas can help you catch potential issues before they become major problems.
For instance, a leaky faucet might seem like a minor issue, but it can waste a significant amount of water over time and lead to higher water bills. Similarly, a small leak in a pipe can cause water damage to your home’s walls and floors if not addressed promptly.
Seasonal Plumbing Checks
Conducting seasonal plumbing checks is another vital part of maintaining your plumbing system. Before winter, insulate exposed pipes in unheated areas like the garage, basement, or crawlspace to prevent them from freezing. In the spring, check your outdoor faucets and hoses for damage and ensure that your sump pump is working correctly.
For more detailed preventive plumbing tips, you can visit Amica’s guide on preventive plumbing, which offers valuable insights into maintaining your home’s plumbing system.
Benefits of Routine Inspections
Routine inspections offer numerous benefits, including the early detection of potential issues, reduced risk of emergency repairs, and extended lifespan of your plumbing fixtures and appliances. By identifying problems early, you can save money on costly repairs and minimize disruptions to your daily life.
| Benefits | Description |
|---|---|
| Early Detection | Identify potential issues before they become major problems. |
| Cost Savings | Reduce the need for costly emergency repairs. |
| Extended Lifespan | Prolong the life of your plumbing fixtures and appliances. |
By incorporating routine maintenance into your home care routine, you can enjoy a more reliable and efficient plumbing system. Regular checks and inspections are a proactive approach to preventing plumbing issues and ensuring your home remains safe and comfortable.
The Difference Between DIY and Professional Help
Homeowners often face the dilemma of whether to attempt plumbing repairs themselves or seek the help of a professional. This decision is crucial as it affects not only the immediate outcome of the repair but also the long-term integrity of the plumbing system.
When You Can Handle It Yourself
Simple plumbing tasks such as fixing a leaky faucet or unclogging a drain can often be handled by homeowners with basic DIY skills. These tasks typically require minimal tools and can be completed with the help of online tutorials or plumbing guides. However, it’s essential to assess your own capabilities honestly and not hesitate to seek professional help if the task seems beyond your expertise.
Knowing When to Hire a Plumber
More complex plumbing issues, such as those involving gas lines, major pipe leaks, or complex water heater installations, are best handled by professional plumbers. These professionals have the training, experience, and equipment to deal with such tasks efficiently and safely. For instance, a professional plumber can diagnose and fix issues that might not be immediately apparent, potentially saving homeowners from more costly repairs down the line. For more insights on when to call a professional, you can visit this resource.
Cost Considerations for Repairs
Cost is a significant factor in deciding between DIY and professional plumbing repairs. While DIY might seem cost-effective initially, a poorly executed repair can lead to more significant expenses in the future. On the other hand, hiring a professional plumber might have a higher upfront cost but can provide long-term savings through efficient and durable repairs. It’s also worth considering that professionals can often provide warranties on their work, offering additional peace of mind.
In conclusion, while DIY plumbing repairs can be a viable option for simple tasks, knowing when to call a professional is crucial for more complex issues. By considering the complexity of the task, your own DIY capabilities, and the cost implications, you can make an informed decision that best suits your needs.
Eco-Friendly Plumbing Options
With the rising awareness of environmental issues, eco-friendly plumbing has become a vital consideration for homeowners looking to make their homes more sustainable.
Eco-friendly plumbing involves a range of practices and products designed to reduce water consumption and minimize environmental impact. One of the key aspects of eco-friendly plumbing is the use of water-saving fixtures.
Water-Saving Fixtures to Consider
Installing water-saving fixtures is a straightforward way to reduce your home’s water consumption. Some fixtures to consider include:
- Low-flow showerheads and faucets
- Dual-flush toilets
- Rain sensors for irrigation systems
These fixtures not only reduce water usage but can also lower your utility bills, providing a cost-effective solution for homeowners.
Using Eco-Friendly Products for Repairs
When it comes to plumbing repairs, using eco-friendly products can significantly reduce your environmental footprint. This includes:
- Using recycled materials for pipe repairs
- Selecting products with minimal packaging
- Opting for non-toxic, biodegradable plumbing materials
By choosing eco-friendly products, homeowners can ensure that their plumbing repairs are not only effective but also environmentally responsible.
Benefits of Eco-Conscious Plumbing
Adopting eco-conscious plumbing practices offers numerous benefits, including:
- Reduced water consumption
- Lower utility bills
- A reduced environmental impact
- Increased property value
By embracing eco-friendly plumbing options, homeowners can contribute to a more sustainable future while enjoying the practical benefits of a well-designed plumbing system.
Seasonal Plumbing Tips
As the seasons change, it’s essential to adjust your plumbing maintenance routine to prevent potential issues. Different seasons bring unique challenges to your home’s plumbing system, and being prepared can save you from costly repairs and inconvenience.
Preparing Your Pipes for Winter
Winter can be harsh on your plumbing system, especially if you live in colder climates. Freezing temperatures can cause pipes to burst, leading to significant water damage. To prepare your pipes for winter, consider the following steps:
- Insulate exposed pipes in unheated areas like the garage, basement, or crawlspace.
- Disconnect and drain hoses from outdoor faucets.
- Seal any cracks or gaps around windows, doors, and pipes to prevent cold air from entering.
- Let cold water drip from faucets served by exposed pipes.
For more detailed tips on preparing your home’s plumbing for winter, visit C&C Farm and Home for comprehensive guidance.
Summer Plumbing Checklists
Summer is an ideal time to inspect your plumbing system and address any issues before they become major problems. Here’s a summer plumbing checklist:
| Check | Description | Frequency |
|---|---|---|
| Inspect outdoor faucets | Check for leaks and damage | Annually |
| Check water heater | Inspect temperature and pressure relief valve | Every 6 months |
| Examine irrigation systems | Look for leaks and damaged sprinkler heads | Seasonally |
Identifying Seasonal Risks
Understanding the risks associated with different seasons can help you take proactive measures to protect your plumbing system. For instance, during the summer, increased water usage can put additional strain on your pipes. In contrast, winter brings the risk of freezing temperatures that can cause pipes to burst.
Seasonal Risk Management Tips:
- Monitor your water meter regularly to detect hidden leaks.
- Be aware of the age and condition of your plumbing system.
- Consider upgrading to freeze-resistant faucets if you live in an area prone to freezing temperatures.
By following these seasonal plumbing tips, you can help ensure your plumbing system remains in good condition throughout the year. Regular maintenance and inspections are key to preventing costly repairs and ensuring the longevity of your plumbing system.
Understanding Local Plumbing Codes
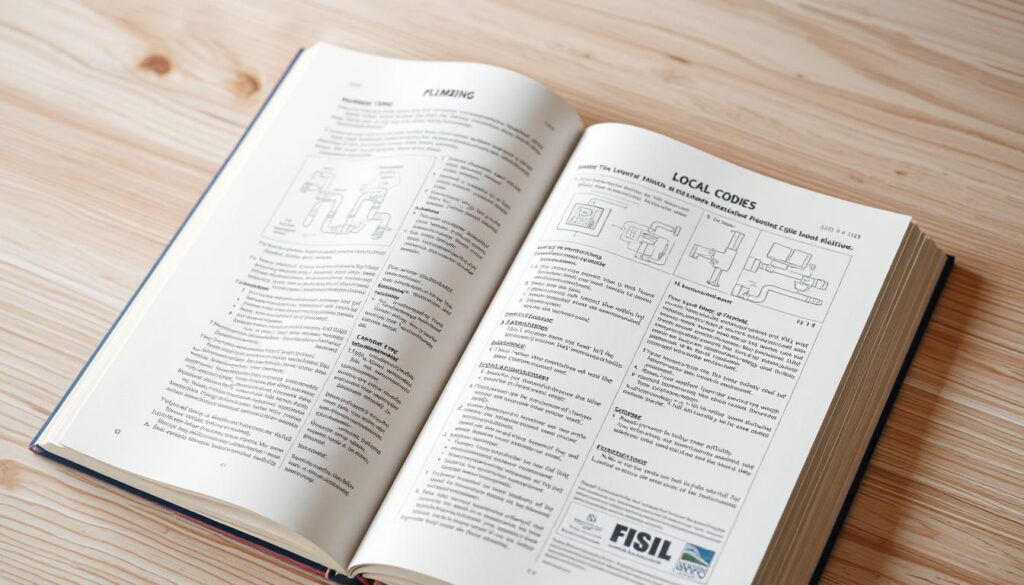
Understanding local plumbing codes is crucial for homeowners to avoid legal issues and ensure safety. Local plumbing codes are regulations that govern the installation, maintenance, and repair of plumbing systems within a specific jurisdiction.
Importance of Compliance
Compliance with local plumbing codes is essential to ensure that plumbing work is done safely and correctly. Non-compliance can result in fines, legal issues, and even safety hazards. By adhering to these codes, homeowners can prevent potential problems and ensure that their plumbing systems are functioning properly.
Key benefits of compliance include:
- Ensuring safety for occupants
- Avoiding costly fines and legal issues
- Preventing potential plumbing hazards
- Maintaining property value
How to Research Local Codes
Researching local plumbing codes can seem daunting, but there are several resources available to help. Homeowners can start by visiting their local government’s website or contacting their local building department. Additionally, many professional plumbing organizations provide resources and guidance on understanding local codes.
Steps to research local codes:
- Visit the local government’s website
- Contact the local building department
- Consult with professional plumbers
- Review local plumbing ordinances
Hiring Licensed Professionals
Hiring licensed professionals is one of the most effective ways to ensure compliance with local plumbing codes. Licensed plumbers have the training and experience to understand and implement local regulations. They can also provide guidance on the best practices for plumbing installations and repairs.
Benefits of hiring licensed professionals:
- Ensured compliance with local codes
- High-quality workmanship
- Reduced risk of plumbing hazards
- Access to expert advice
Homeowner’s Guide to Plumbing Resources
Access to reliable plumbing resources empowers homeowners to take control of their plumbing system’s maintenance and repairs. With the right information, homeowners can tackle common plumbing issues effectively and make informed decisions about their plumbing needs.
Utilizing Online Guides and Videos
The internet is a treasure trove of plumbing resources, offering a wide range of guides and videos that can help homeowners learn new skills. From fixing leaky faucets to unclogging drains, online tutorials provide step-by-step instructions that are easy to follow. Websites like YouTube and various DIY forums are excellent sources of information, with many experts sharing their knowledge and experiences.
Tips for Using Online Resources:
- Verify the credibility of the source before following any advice.
- Look for tutorials with clear, step-by-step instructions.
- Watch multiple videos to get a comprehensive understanding of the task.
Recommended Books on Plumbing
For those who prefer learning through traditional methods, books on plumbing can be a valuable resource. These books often cover a wide range of topics, from basic plumbing repairs to more complex installations. They can serve as a handy reference guide for homeowners, providing detailed explanations and diagrams.
Some recommended topics to look for in plumbing books include:
- Basic plumbing principles and DIY repairs.
- Advanced plumbing techniques for more complex projects.
- Plumbing system maintenance and troubleshooting.
Local Plumbing Workshops and Classes
Local workshops and classes offer hands-on experience and the opportunity to learn from professionals. Many community centers, hardware stores, and plumbing supply companies host such events, covering various aspects of plumbing. These sessions can be particularly beneficial for homeowners who prefer hands-on learning or need guidance on specific projects.
Benefits of Local Workshops:
- Practical, hands-on experience.
- Opportunity to ask questions and get immediate feedback.
- Networking with local professionals and other homeowners.
Importance of Keeping Plumbing Records
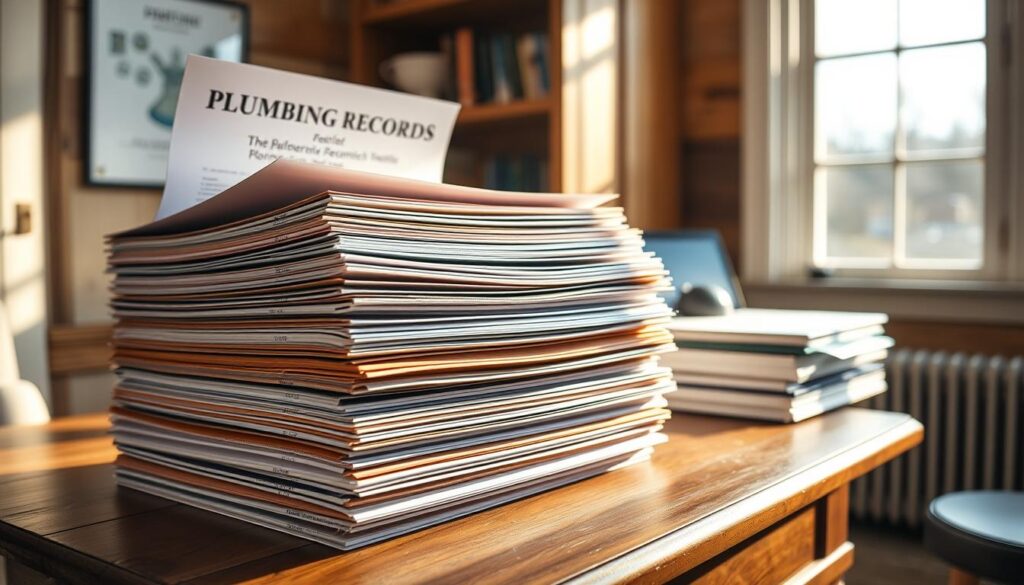
The importance of keeping detailed plumbing records cannot be overstated, as it helps in troubleshooting and maintaining your home’s plumbing. By maintaining accurate records, homeowners can ensure that their plumbing system is well-maintained and that any issues are addressed promptly.
Why You Should Track Repairs
Tracking repairs is essential for understanding the history of your plumbing system. This includes recording the date, type of repair, and the professional or DIY method used. Keeping such records can help identify recurring issues, allowing homeowners to take preventive measures.
For instance, if a particular pipe or fixture frequently requires repair, it may be more cost-effective to replace it entirely. Detailed records can also be invaluable when dealing with insurance claims or when selling your home.
How to Organize Your Plumbing History
Organizing your plumbing history can be straightforward. Start by creating a dedicated file or digital folder for all plumbing-related documents. This can include receipts for parts and labor, descriptions of the work done, and any warranties or guarantees.
A simple table can be used to keep track of repairs and maintenance:
| Date | Description of Work | Parts/Repair Type | Cost |
|---|---|---|---|
| 02/10/2023 | Fixed leaky faucet | Replacement washer | $50 |
| 05/15/2023 | Unclogged drain | Drain snake rental | $20 |
| 08/20/2023 | Replaced toilet flapper | Toilet flapper | $30 |
Benefits for Home Resale
When it comes time to sell your home, having comprehensive plumbing records can be a significant selling point. Potential buyers appreciate transparency regarding the home’s maintenance history. It demonstrates that the home has been well cared for, potentially increasing its value.
Moreover, detailed records can help alleviate concerns about potential plumbing issues, making your home more attractive to buyers. It’s a way to show that you’re a responsible homeowner who has taken care of the property.
Final Tips for Quick and Easy Repairs
Maintaining a positive DIY mindset is crucial for successful plumbing repairs. By staying confident and focused, homeowners can tackle common plumbing issues with ease. To achieve this, it’s essential to be prepared and knowledgeable about the tasks at hand.
Practical Mindset for DIY Success
A positive DIY mindset involves being proactive and willing to learn. Homeowners can cultivate this by staying informed about basic plumbing techniques and best practices. For instance, understanding how to use a plunger effectively or when to use a pipe wrench can make a significant difference in DIY repairs.
Safety Precautions During Repairs
Safety should always be a top priority when making plumbing repairs. Ensuring the water supply is turned off before starting work and using protective gear can prevent accidents. For more information on safety guidelines and DIY tips, you can visit A-Team Plumbing for valuable resources.
Continuing Education for DIY Plumbing
Ongoing learning is vital for homeowners to stay up-to-date with the latest plumbing techniques and technologies. Utilizing online guides, videos, and workshops can help improve DIY skills. By dedicating time to learning, homeowners can become more self-sufficient in handling plumbing repairs and maintenance.
